I may receive a commission if you purchase something mentioned in this post. See more details here.
One of Will’s coworkers makes crochet wire jewelry. They are very pretty, yet simple to make, so I decided to make them as gifts for my maid of honor, bridesmaid, and Will’s sister (who is doing a reading). I picked out the beads and wire, and received a quick tutorial. However, when I got home and started to make the bracelets, I had a few questions. As it turns out, there is nothing I can find on the Great Google instructing on how to do this very simple craft. So I figured it out on my own, and now I’m creating a tutorial for others like me!
Crochet Wire Bracelet Tutorial
What You’ll Need:
- Beads
- Soft Flex beading wire (I used .014″ sterling)
- 2 crimps
- Flexwire cutter (like this one)
- Crimping tool (like this one)
- Crochet hook (I like these, I used a size E)
1. Gather supplies. First pick the beads that you want to the bracelet. From there you can pick a beading wire that allows the beads to move freely. Choose a crochet hook that is smaller than the beads so that the bracelet will curl up and have more volume.
2. Measure wire. It is better to err on the side of too much wire, rather than two little. I wrap the wire around my wrist 9 times and find that provides plenty of wire and cushion for a bracelet.
3. Make a slip knot in the wire and tighten it over the crochet hook. The knot may not hold tightly. This is okay, just make sure that it is tight once you begin crocheting.
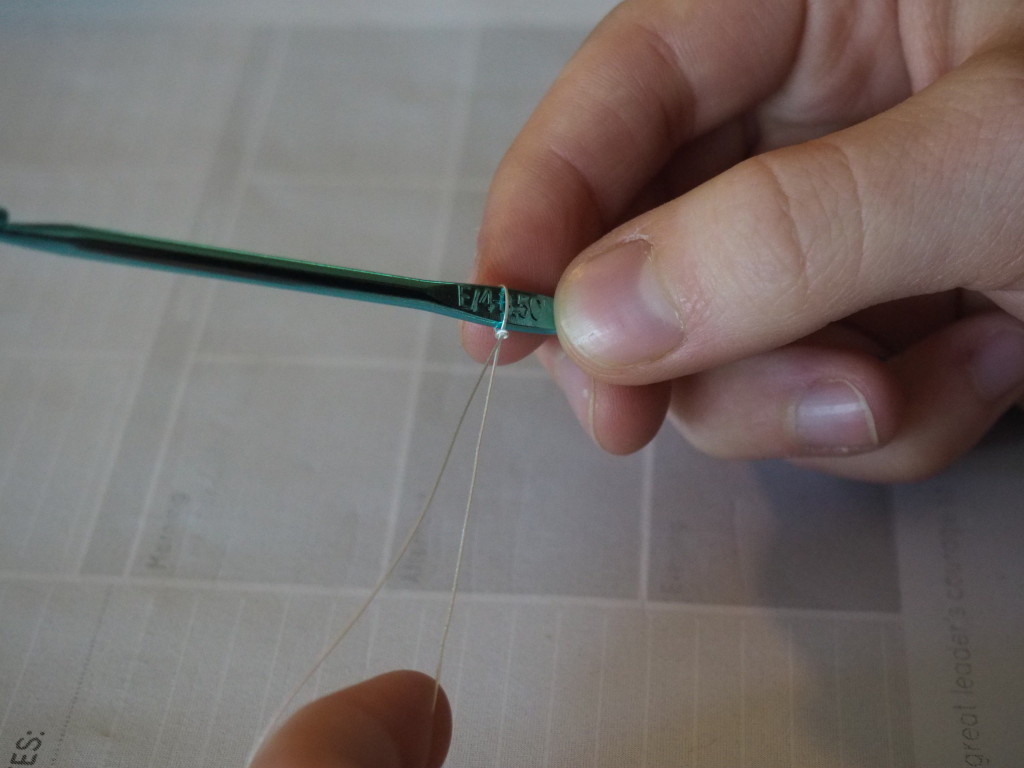
4. String beads and first crimp. The first crimp should be placed about 5 beads in. I put a charm on each of my bracelets, which I strung so that it could also be crocheted into the bracelet. You can always add or remove beads later as needed.
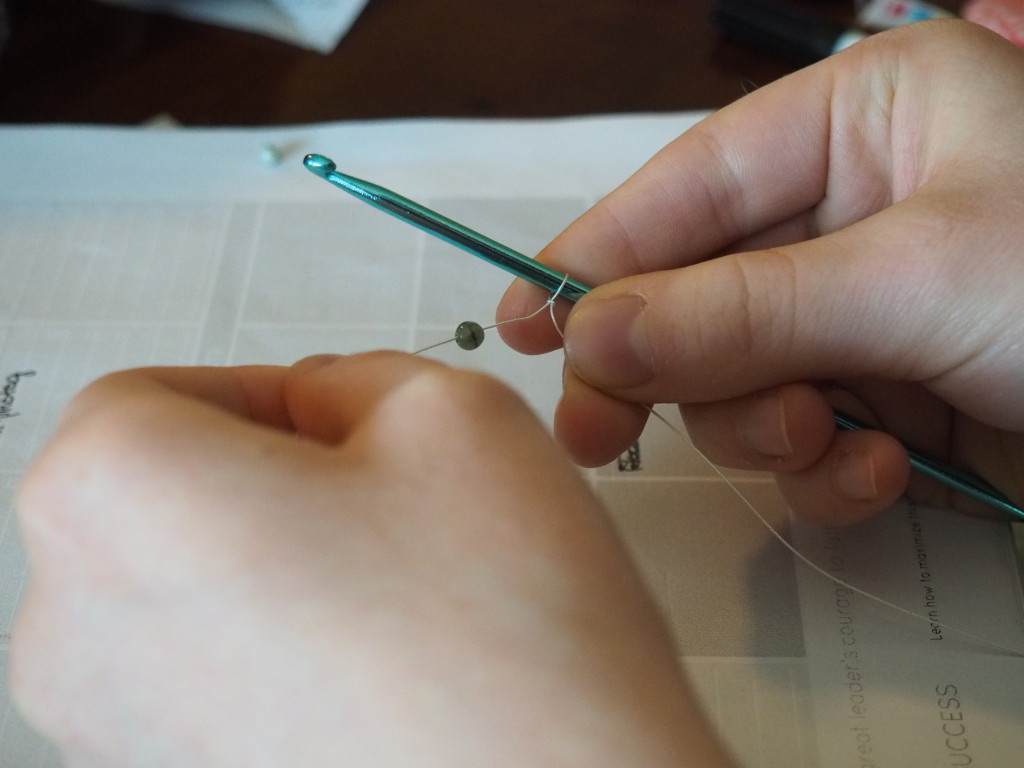
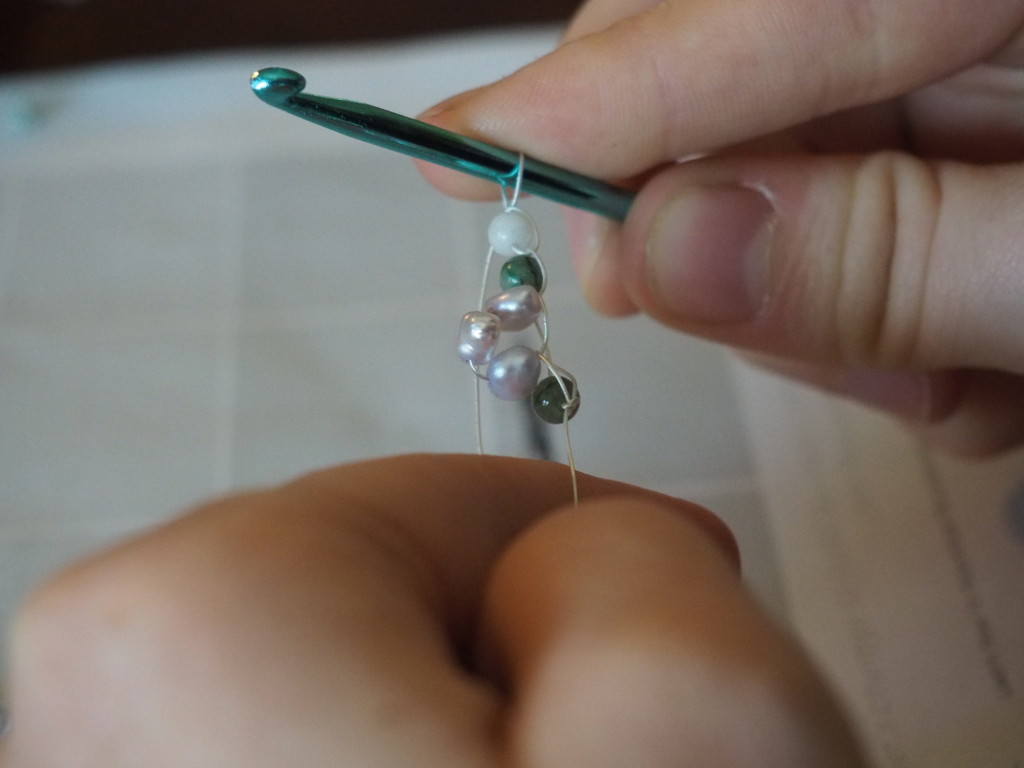
5. Crochet the first bead. Draw the first bead up to the crochet hook and wrap the wire around. The bead should be behind the hook. Pull the wire through the loop on the hook – a chain stitch.
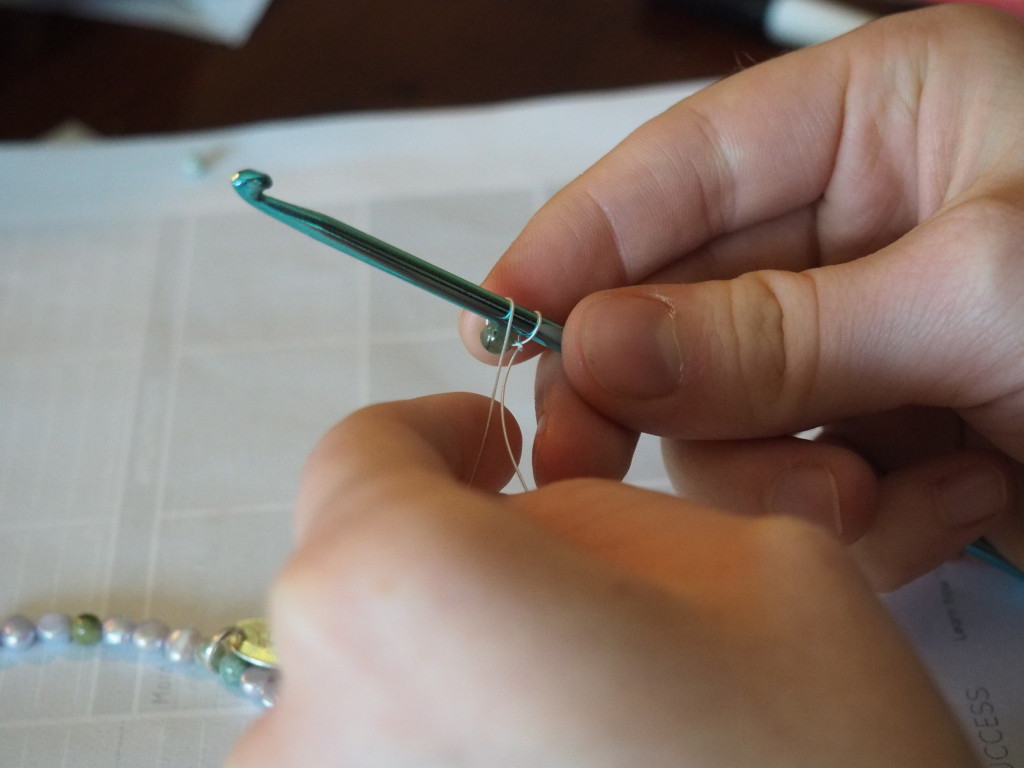

6. Continue chaining the beads in your desired pattern. You can chain one bead or multiple beads as you desire. When you come to the first crimp, crochet it with another bead so that it will be hidden within the bracelet.
7. When the bracelet is the desired length, add the final crimp. Work as if to chain the crimp, but pull the wire all the way through, effectively knotting the wire.
8. Pass the wire through the crimps. Use the crimping tool to close the crimps.
9. Cut the wire. Congrats! You are done!
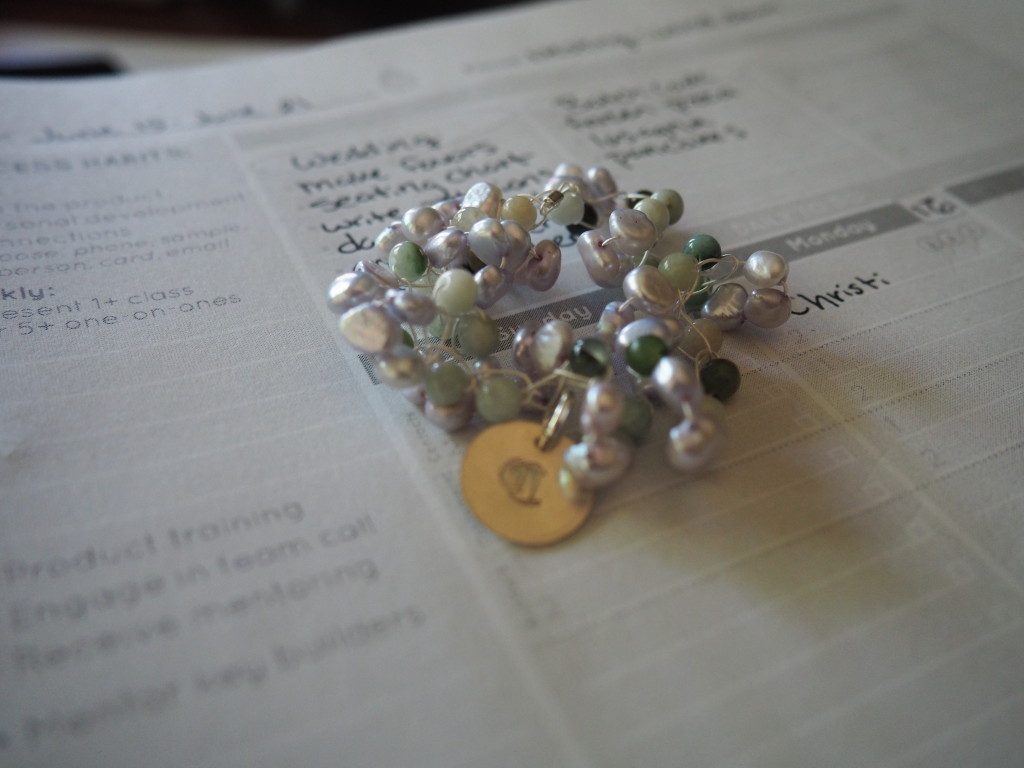
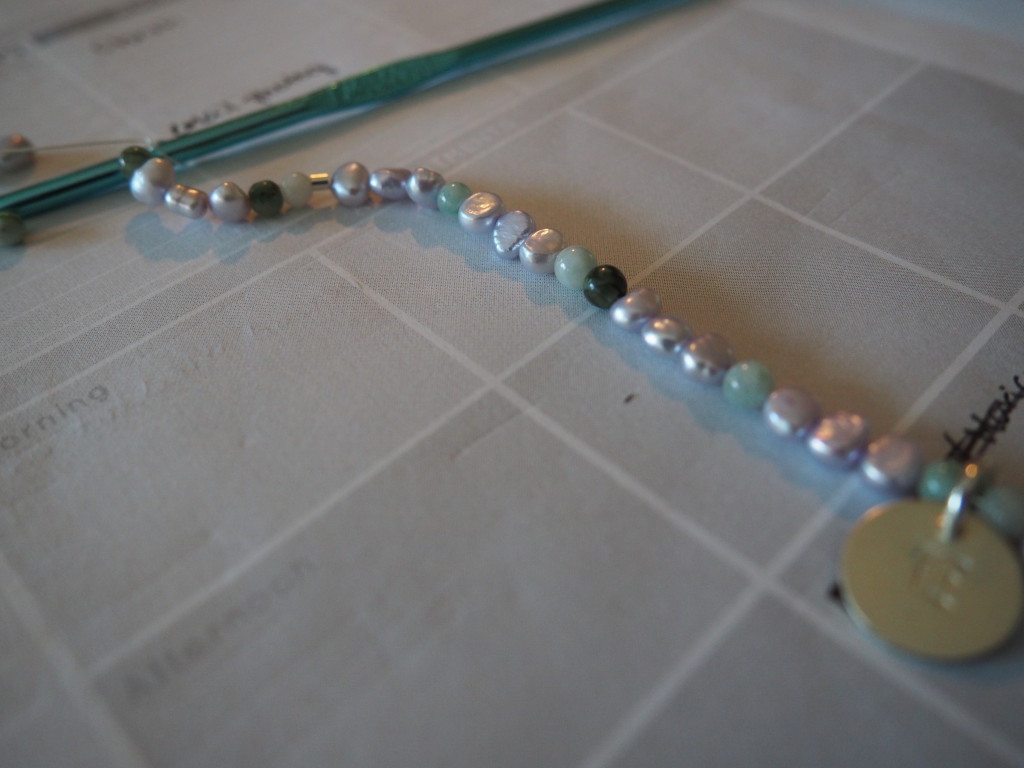
For the bracelet above, I alternated chaining one or two single green beads with chaining a cluster of 3 purple beads to create “flowers.”
Like what you see? Please support this blog and help me keep it running by signing up for my newsletter, purchasing products, or donating through the links below:


DISCLOSURE: In order for me to support my blogging activities, I may receive monetary compensation or other types of remuneration for my endorsement, recommendation, testimonial and/or link to any products or services from this blog. The information contained in this post is not intended nor implied to be a substitute for professional medical advice, it is provided for educational purposes only. You assume full responsibility for how you choose to use this information. For more information, click here.
This is so very pretty. You should make and sell them, you do a wonderful job!
Thank you! I really appreciate that!