I may receive a commission if you purchase something mentioned in this post. See more details here.
I like to dye my finished yarn because I have more control over where the color goes and often I don’t know what I’m going to make when I’m spinning the yarn. But you can dye at any point in the process.
First off, I highly recommend you get the book Hand Dyeing Yarn and Fleece by Gail Callahan. Not only does it have a lot of information and many dye techniques, but there is a whole chapter on Color Theory. So helpful for a color-challenged person like me. Don’t buy the Kindle edition. You’re going to be using this as a reference while dyeing. You don’t want that on your Kindle.
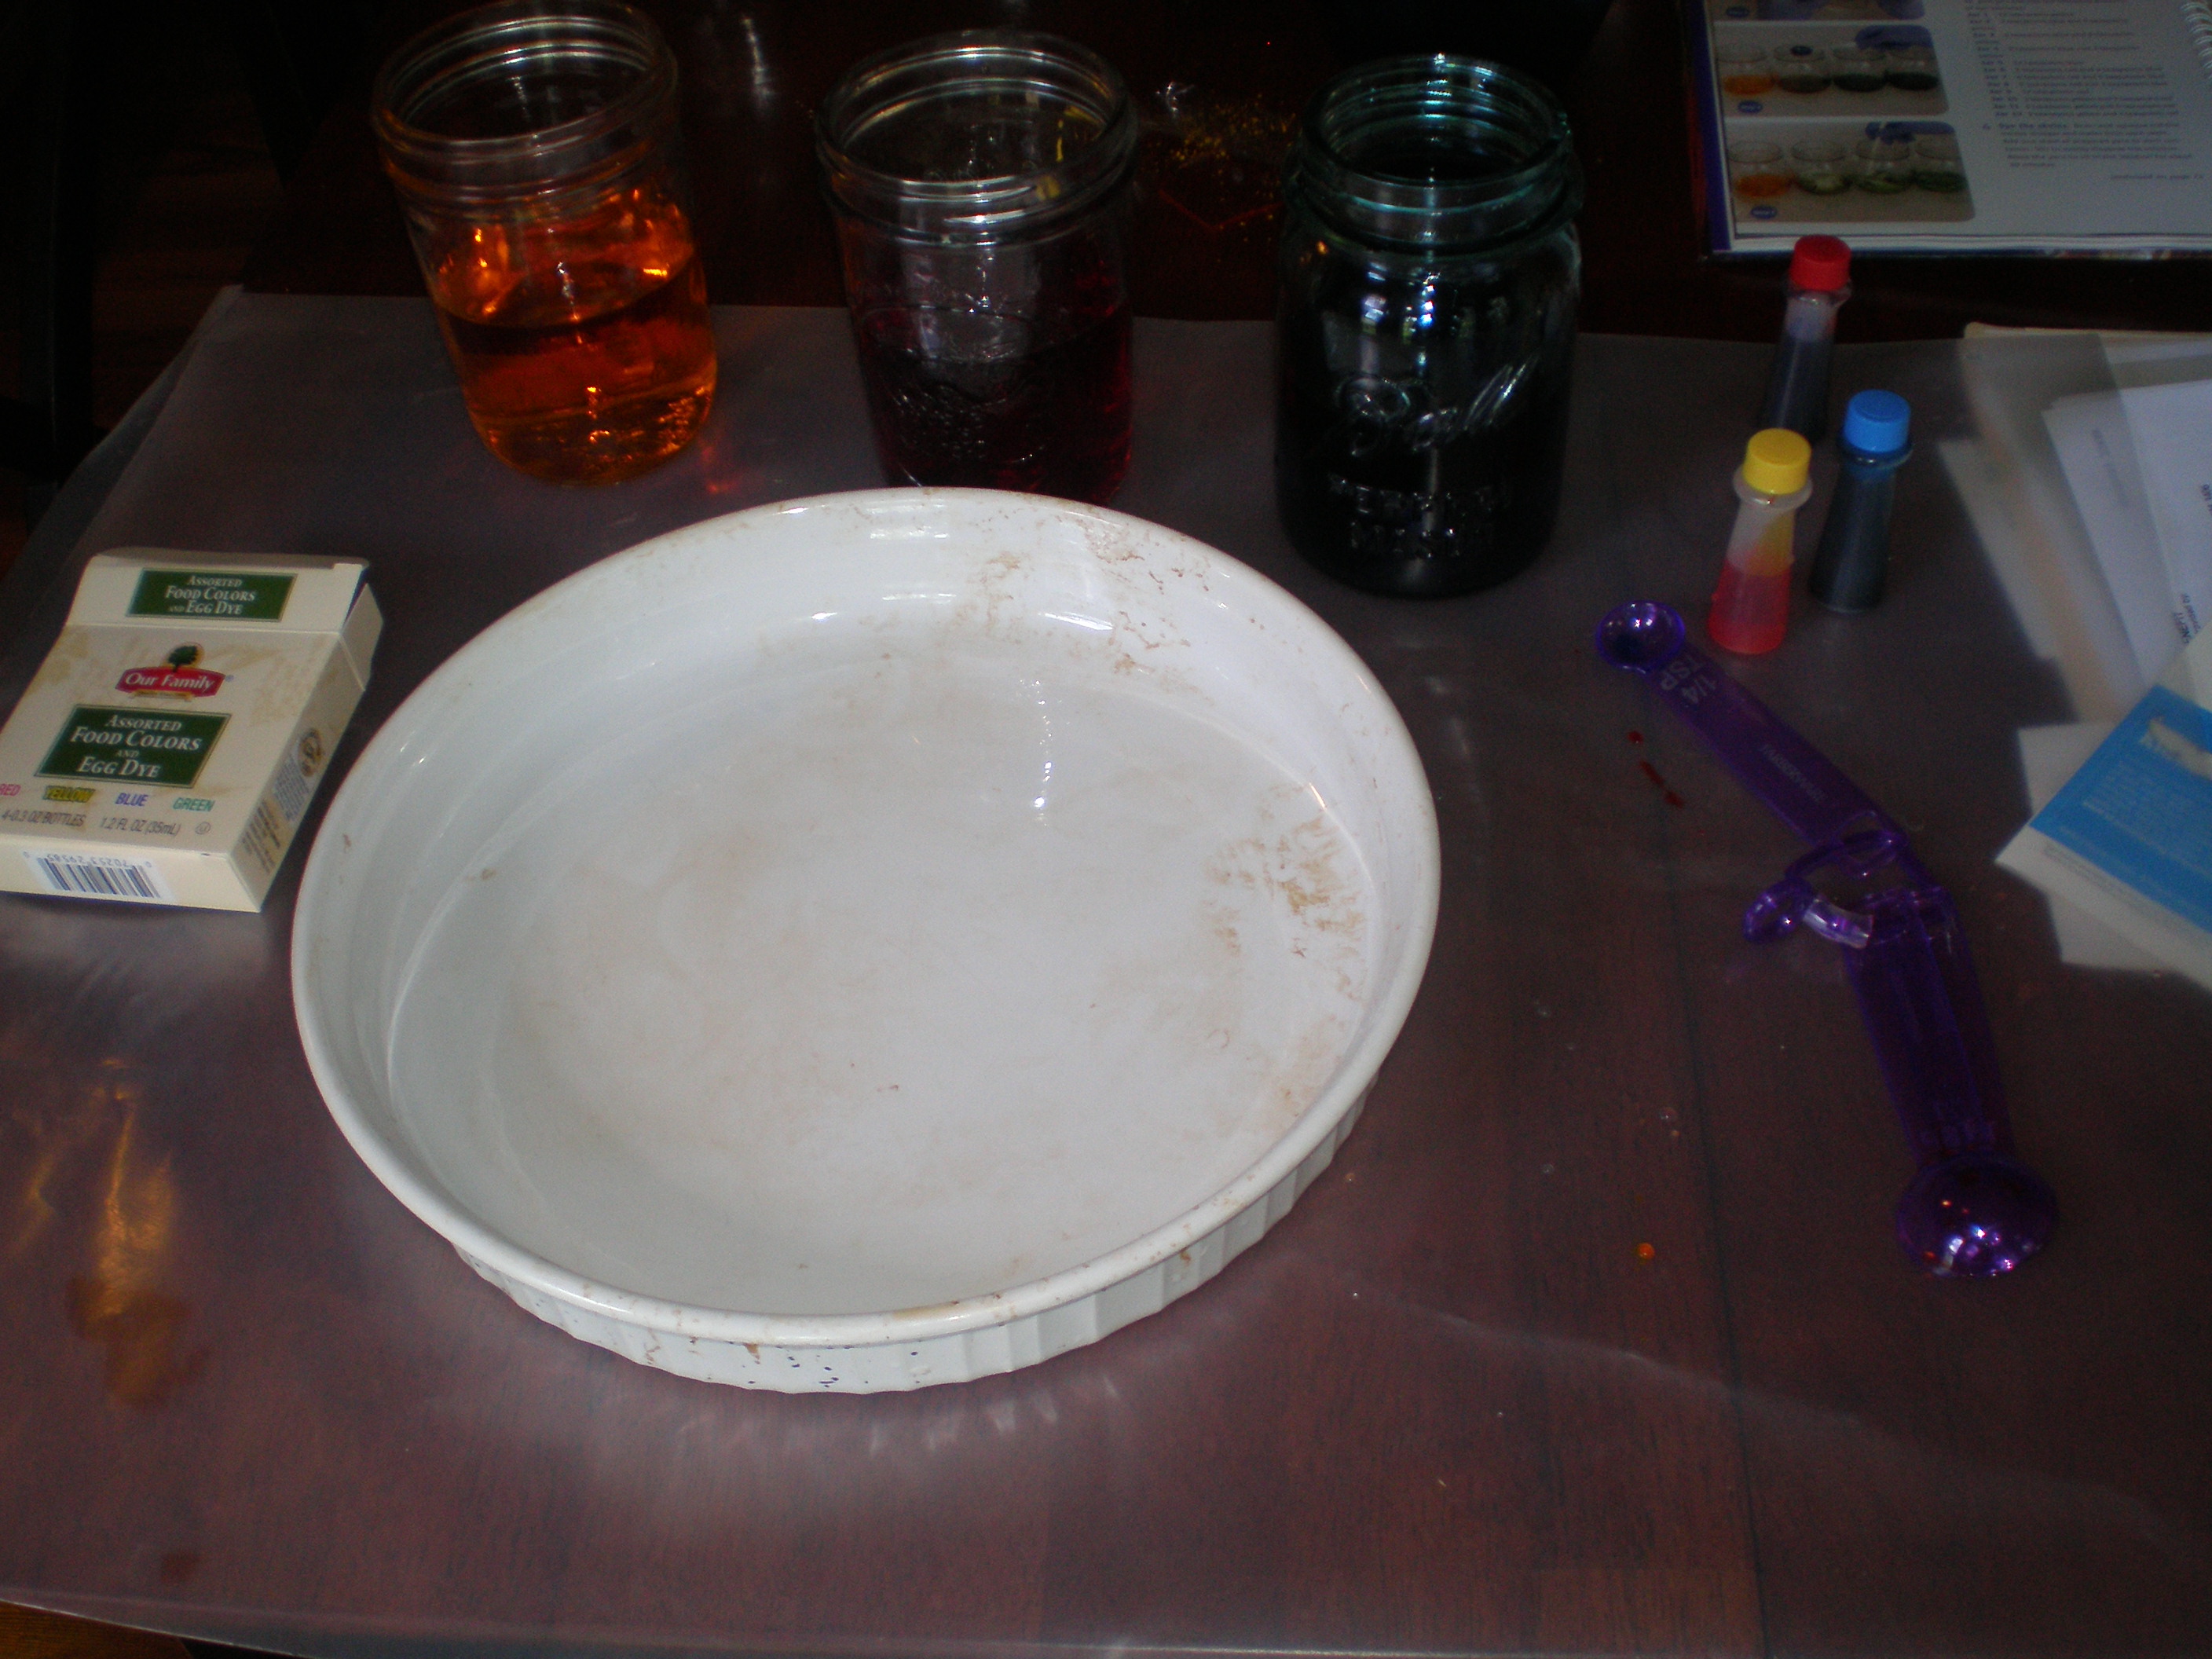
Your first dye is hard because you don’t know what you’re doing or how it will turn out. Make sure you thoroughly read and re-read the instructions before you start. I would recommend starting with food color dye, or something similar, since you don’t have to take as many safety precautions and you can still use your dishes for food, so you can get your feet wet without purchasing a whole set up. While I was setting up, my yarn was soaking in a 1:5 vinegar:water bath. Earlier I had tied it with scrap yarn, which is the blue you see in the pictures.
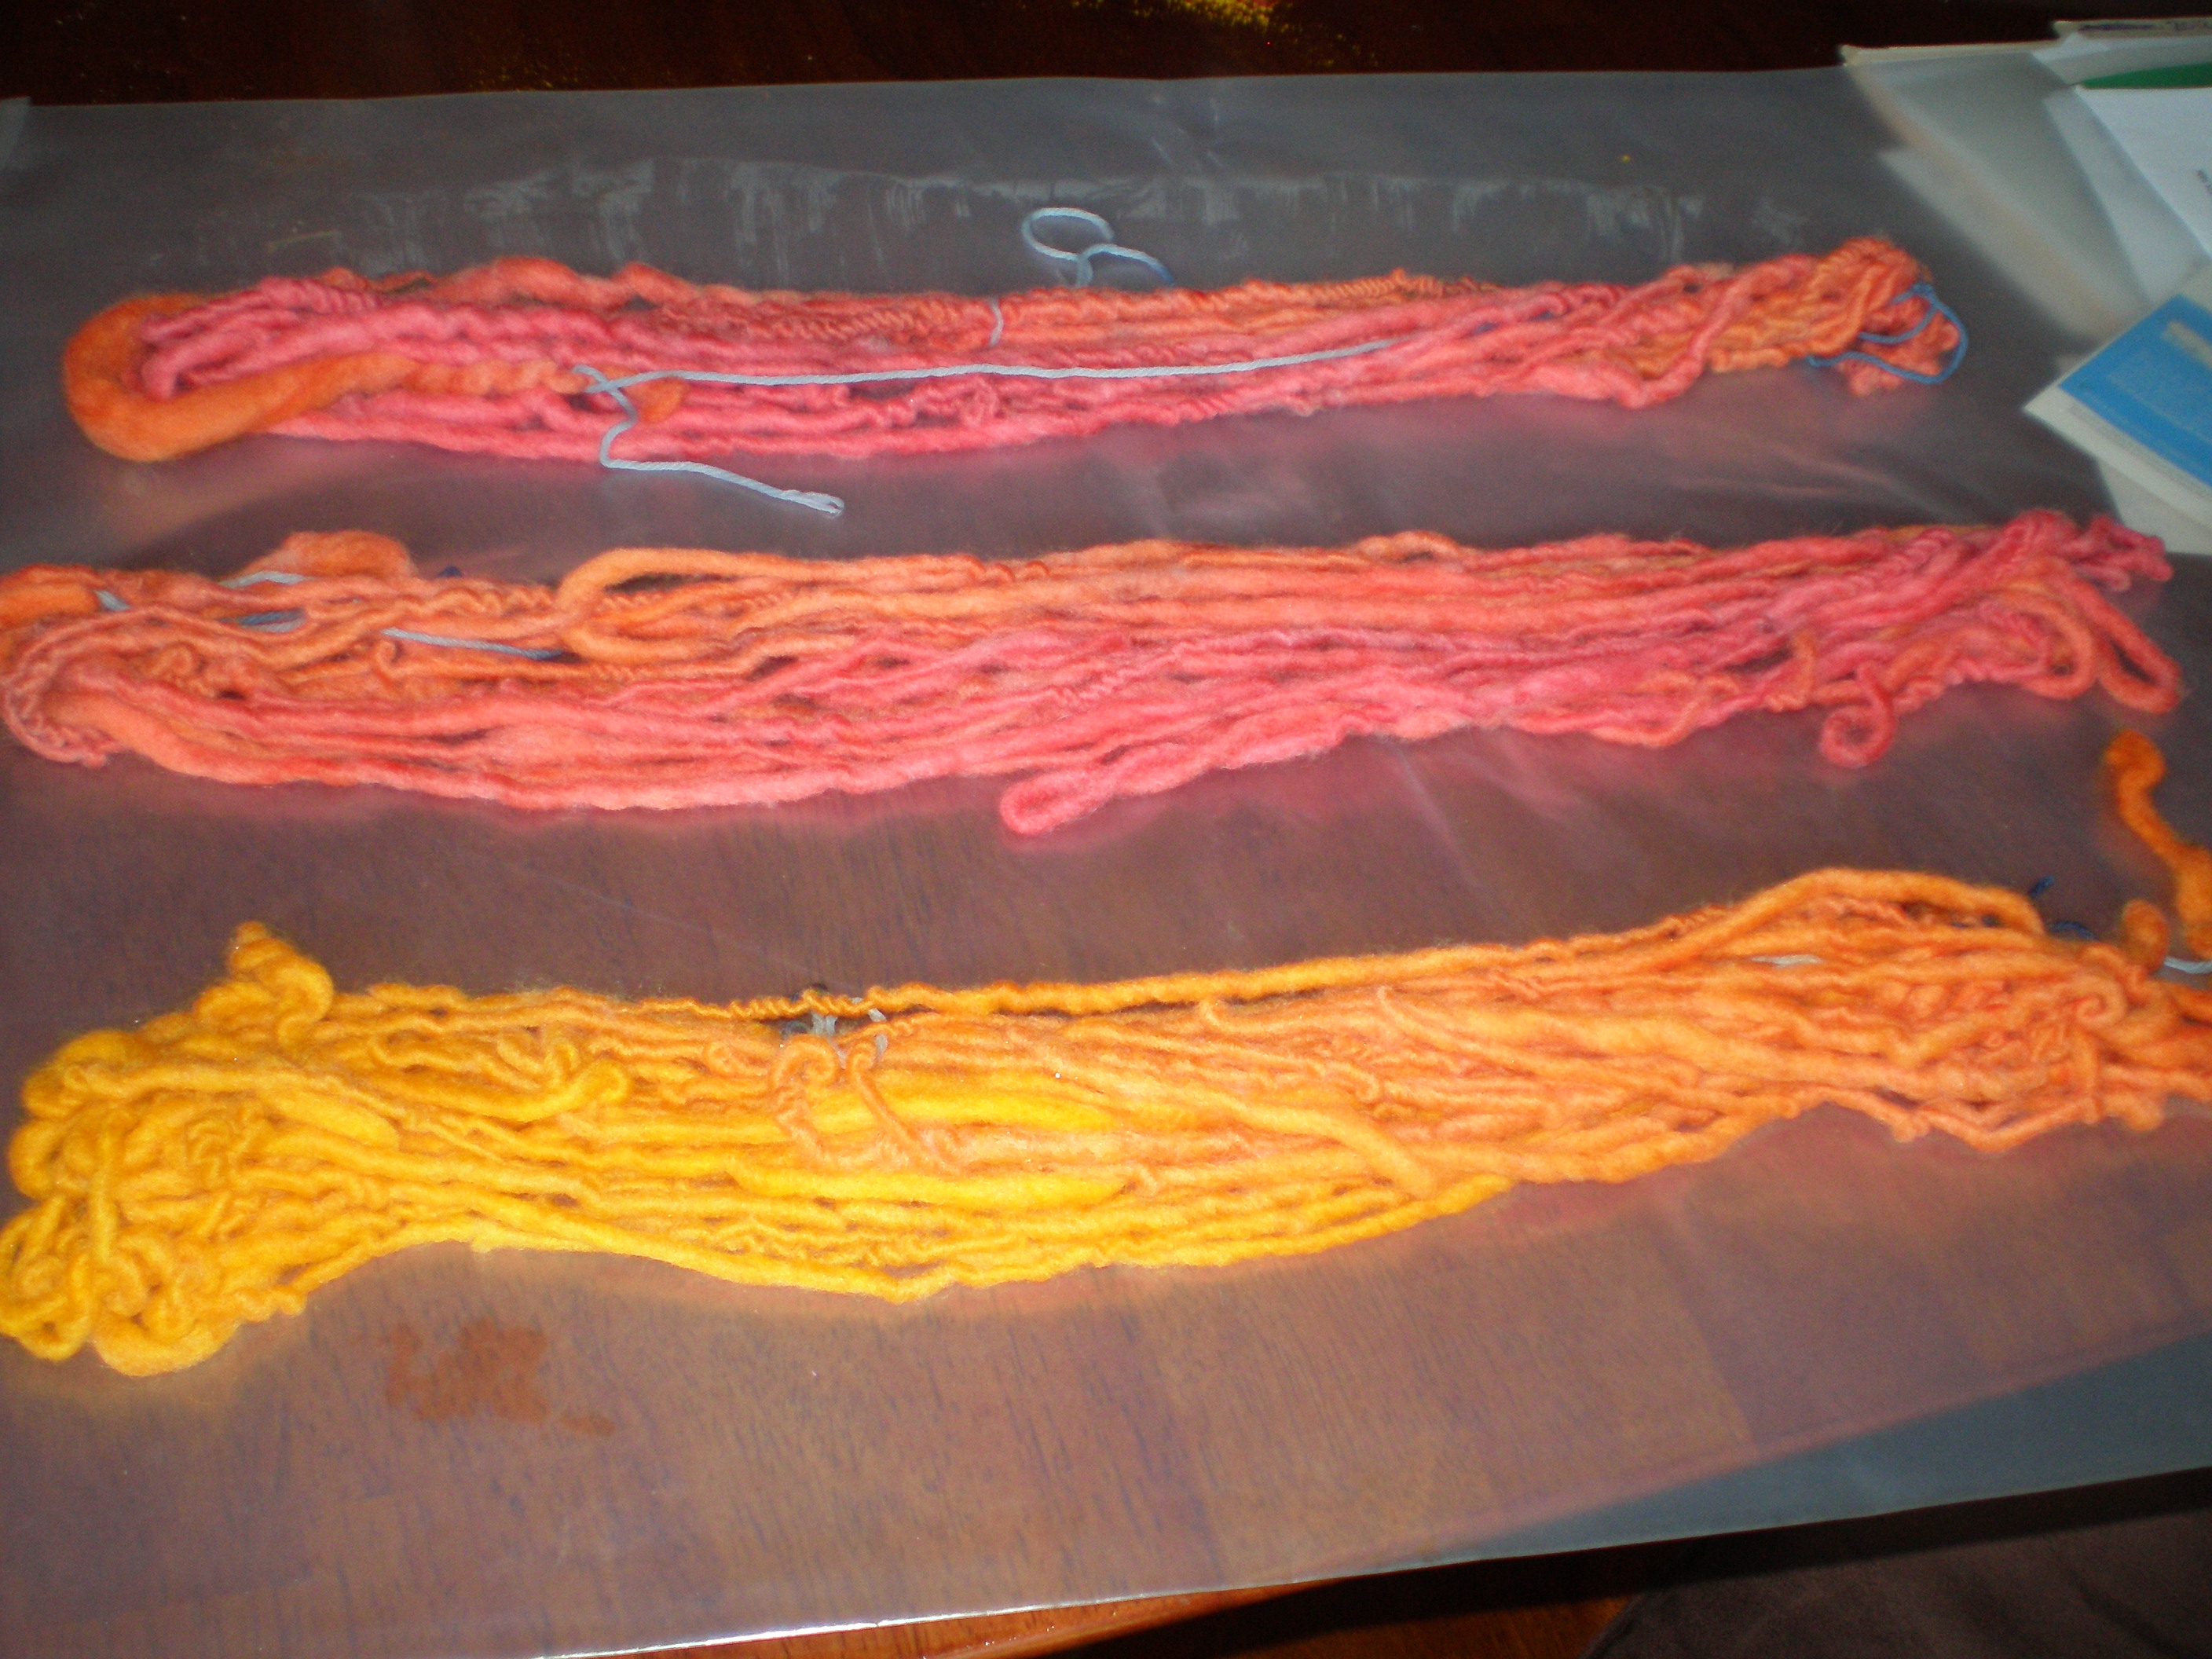
I started by hand painting my yarn with the yellows and oranges made on page 72 of the book I recommended. Only I cut the water in half and forgot to cut the food coloring so the red and blue were way to strong compared to the yellow I wanted to stand out. I mixed up 6 dye mixtures: all yellow, all red, the 3 yellow/red mixes, and a 9 tsp red/3 tsp blue mix. I used the 3 yellowest on one skein. For the redder skeins, I used mostly orange mixes and plain yellow, with a small amount of all red and even smaller amount of purple. While this was not what I intended, the red was just too strong for me to use what I had planned. Dyeing requires improvising!
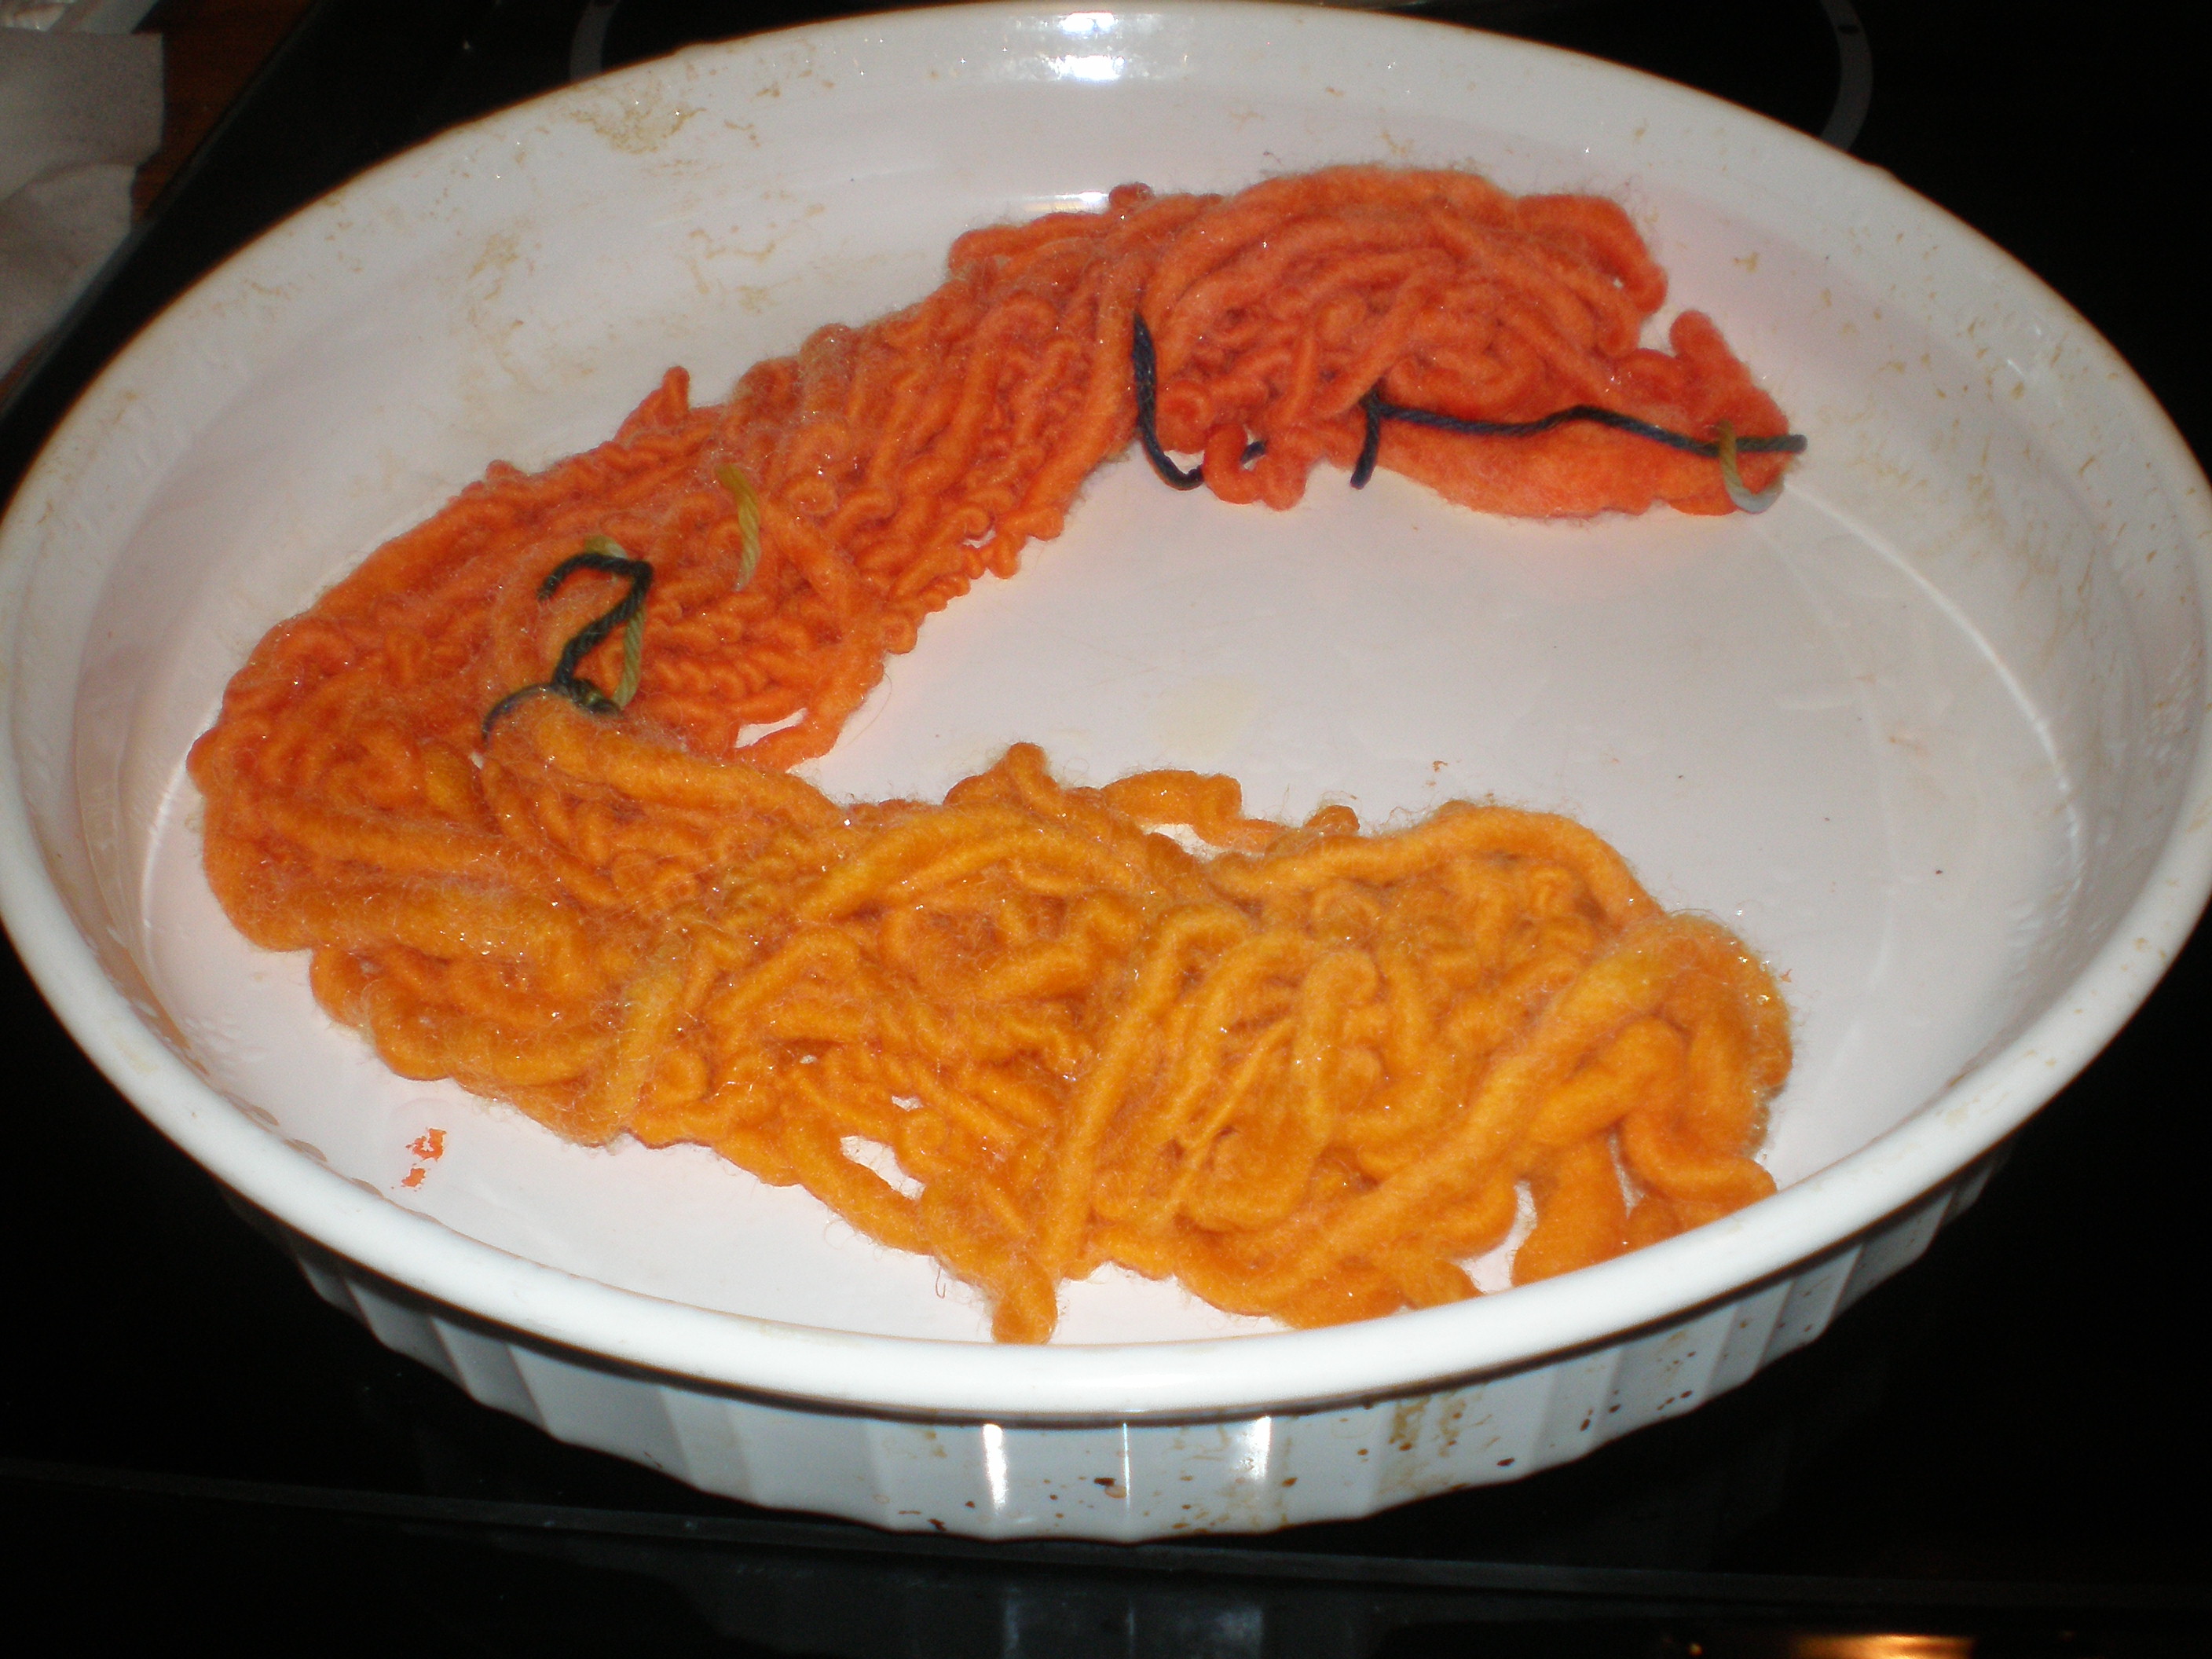
What went well was heat setting. I placed the yarn in the dish I applied the dye in and covered it with a plate. Then I microwaved for 2 minutes on high, let sit for 2 minutes, and repeated until there was no more dye in the bottom of the plate (this took 3 rounds of microwaving each). I did not heat set the different color skeins at the same time.
After the skeins cooled, I soaked them in a small amount of water to make sure all the dye was set. And that water was clear! Success!
Dyeing takes time and thought to get into, but even your first time can turn out well (unlike with spinning). Don’t be scared of ruining your yarn. If you pick safe colors that work well together, you’ll get something you can use, even if it’s not what you expected. Take your time and explore how different yarns dye. For example, some strands of the second yarn I dyed still had lanolin in them, so they did not pick up color as well. The most important part of dying is to explore and have fun!
Looking for an eco-friendly dye? Check out Greener Shades. They don’t have as many colors as some other dyes, but they are a very good option. For example, if you dye your yarn with these dyes, the yarn can still be certified organic. Be aware, though, that their aqua does have copper in it. I haven’t done anything with dyes from plants, because while that sounds like a really nice option, I’m worried about the mordants that must be used. I need to do more research into that.
Like what you see? Please support this blog and help me keep it running by signing up for my newsletter, purchasing products, or donating through the links below:
DISCLOSURE: In order for me to support my blogging activities, I may receive monetary compensation or other types of remuneration for my endorsement, recommendation, testimonial and/or link to any products or services from this blog. The information contained in this post is not intended nor implied to be a substitute for professional medical advice, it is provided for educational purposes only. You assume full responsibility for how you choose to use this information. For more information, click here.


Leave a Reply