I may receive a commission if you purchase something mentioned in this post. See more details here.
Part of my weekend up north involved a day and a half of outdoor rock climbing.

That’s my red helmet at the bottom of the picture.
We have been rock climbing for about a month and a half indoors. Not counting the quarter-long class we both took in 9th grade. That’s right, our junior high had a rock climbing class we could take for gym. It was the best gym class ever, up there with the 14-person “winter activities” class I took that was mostly us messing around, roller blading, and making snowmen because it was usually too cold to go outside.
But anyway. Since the cabin we went to was just an hour from the state park (Tettegouche, if you are curious) where this guided climb was being held, we went for it! It was an hour by a really super painful ride on the rock hard seat of a dirt bike, but that’s fine. It’s whatever.

Me belaying my husband, Will. He has just finished his climb.
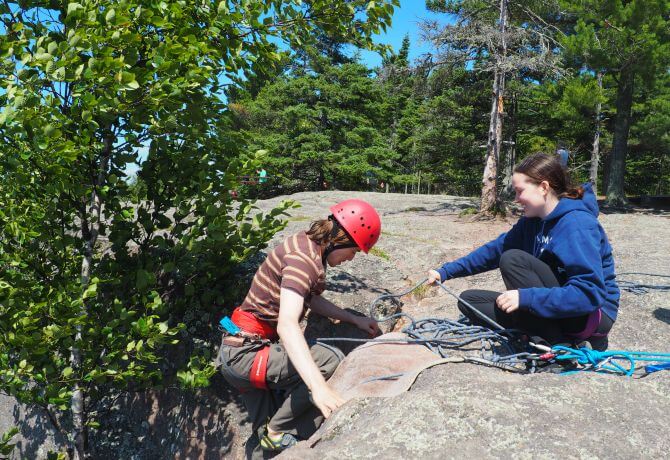
This climb was led by the gym we are members of, so it was a great learning experience as well as an adventure. We learned how to tie anchors, set up everything needed for a safe climb, belay a climber, haul up someone who is stuck, and repel down the side of a cliff before beginning to climb. We even learned how to set anchors on the second day. These are two of the four points anchoring our ropes:

Climbing outdoors is completely different than climbing inside. As opposed to having a specific route, you can use anything on the rock. It’s not always obvious what the good holds are! But you would be surprised by how solidly you can stand on the tiniest crack. On the first day I made it up all 4 climbs on Shovel Point, and felt great about myself. The second day, at Palisade Head, I was fatigued and the climbs were MUCH harder. I had to get hauled up twice, but I wasn’t the only one! Only Will, who is built to climb, never needed help. But he almost did!
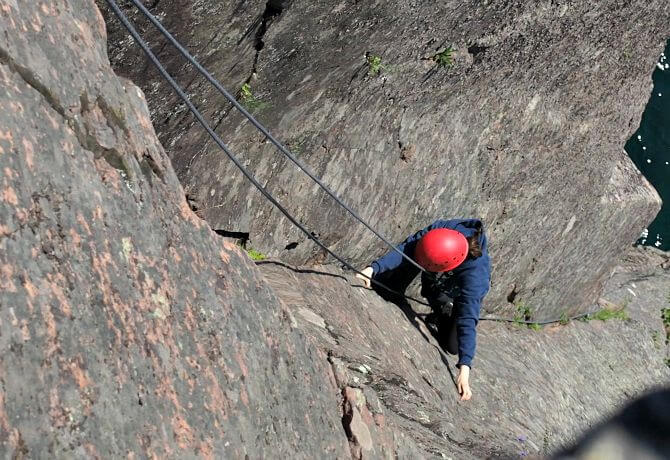
I can’t express how much I enjoyed this weekend of real rock climbing. I felt so good about myself and I had a ton of fun. I am incredibly happy to have found this activity; the first since I had to stop going to karate that I have truly enjoyed. Here’s a nice shot of me climbing. Moms, look away!

When all the equipment is used properly, climbing is actually quite safe. I never felt scared or in danger.
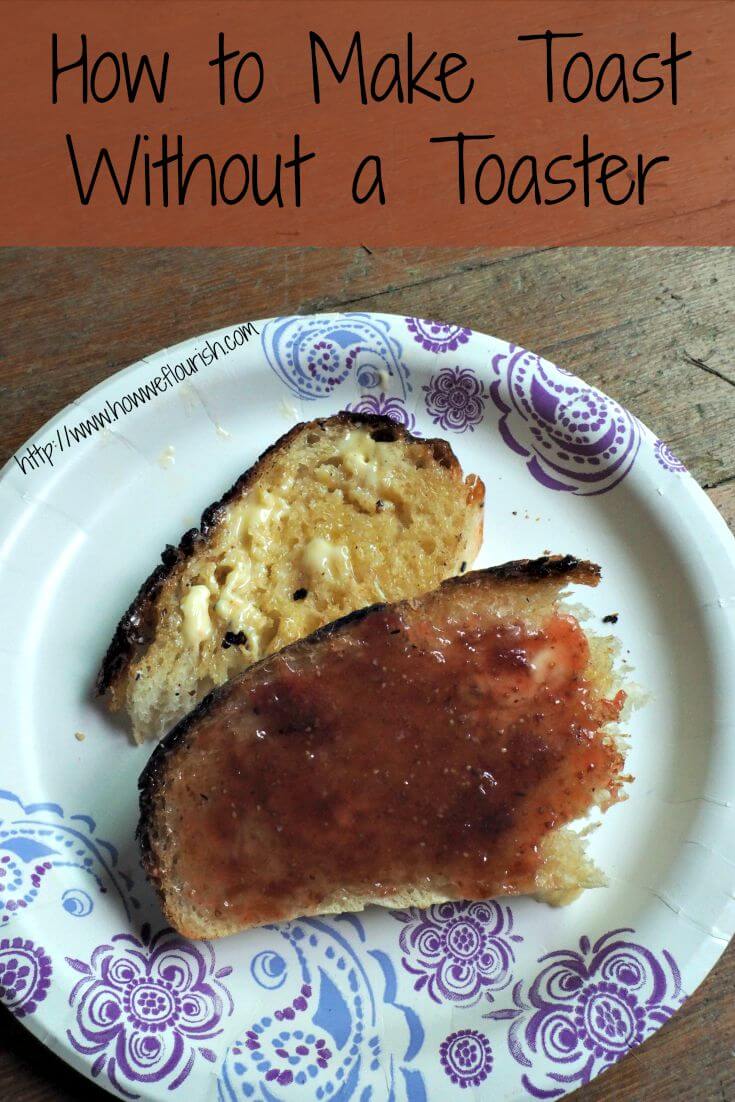
Rock climbing was a lot of work, and I was all about the food these two days, especially carbs and protein. Even with lots of recovery food I was still sore for two days after this intense weekend of climbing. So I thought sharing my tutorial on how to make toast without a toaster would be the perfect companion to my story. In fact, these pictures were taken after rock climbing because, “Toast! I need the food thing, and I want it toasty!”
How to Make Toast Without a Toaster
This post is half serious and half kind of making fun of myself as the girl who doesn’t use appliances. I don’t have a juicer or a yogurt maker, but I make those anyway! Well, we didn’t have a toaster either in our apartment. That is when I developed this technique. I broke it out again up north, staying in a cabin with no appliances. After all, there was no electricity!
But it turns out that making toast without a toaster is not just for weirdos like me that don’t own a toaster. For one, maybe it isn’t so weird that you don’t have a toaster! If you don’t eat a lot of bread and frozen waffles, you certainly don’t need one. That’s why we never bought one; we just didn’t use one enough to justify it. And with such a simple technique for making toast without a toaster, why spend the money and space for such a task-specific tool?

For people who make their own bread, especially grain-free breads, knowing how to make toast without a toaster is critical to ever having toast again. Dramatic? Think about it:
Homemade artisan breads rarely come out in a shape that will work in a toaster. The bread pictured above is my husband’s homemade bread. It is AMAZING, but in the picture it is torn in half. It will not work in a toaster unless it is torn enough to be too small to fish out. Grain-free bread will often have this same problem. I learned to make toast without a toaster with this coconut butter bread. It makes wonderful toast, but the slices cannot find their way out of a toaster.
Some gluten-free and grain-free breads can also be fairly crumbling. Because you needed extra trouble fishing them out of the toaster. This method of making toast without a toaster will also allow you to better see how toasted the bread is getting, avoiding the dreaded burnt toast.
So, problem solved. Learn how to make toast without a toaster, and once again you will be able to experience the joy of perfectly toasted bread, slathered in Kerrygold butter and organic wild strawberry jam. No perfectly shaped sandwich loaf required.
All you need is a well seasoned cast iron pan and a slice of bread.
Learn how to make toast without a toaster! Never again engage in battle with the toaster and a slice of bread that is not the perfect size.
Ingredients
- 1 slice of bread
Instructions
- Heat a cast iron pan on low heat.
- Add your bread. You can put in as many slices as fit in the pan.
- Wait. Depending on your stove and tastes, this may take several minutes. Be patient; if you raise the heat too high the bread will burn.
- When the bottom of the bread is toasted to your liking, flip it over.
- Toast the second side to your liking.
- Remove from heat. Add your favorite toppings - I like butter and jam!
Shared on Wildcrafting Wednesday.
Like what you see? Please support this blog and help me keep it running by signing up for my newsletter, purchasing products, or donating through the links below:
DISCLOSURE: In order for me to support my blogging activities, I may receive monetary compensation or other types of remuneration for my endorsement, recommendation, testimonial and/or link to any products or services from this blog. The information contained in this post is not intended nor implied to be a substitute for professional medical advice, it is provided for educational purposes only. You assume full responsibility for how you choose to use this information. For more information, click here.


Leave a Reply