I may receive a commission if you purchase something mentioned in this post. See more details here.
Last week I talked about lacto-fermenting vegetables for probiotics. Now that I’ve done it and tasted the results, I’m going to share pictures and some details of my process. For full instructions, see Nourishing Meals.
I first cut up a ton of vegetables – broccoli, cauliflower, carrots, celery, and half a cucumber. The picture below shows 3 quart sized mason jars of vegetables:
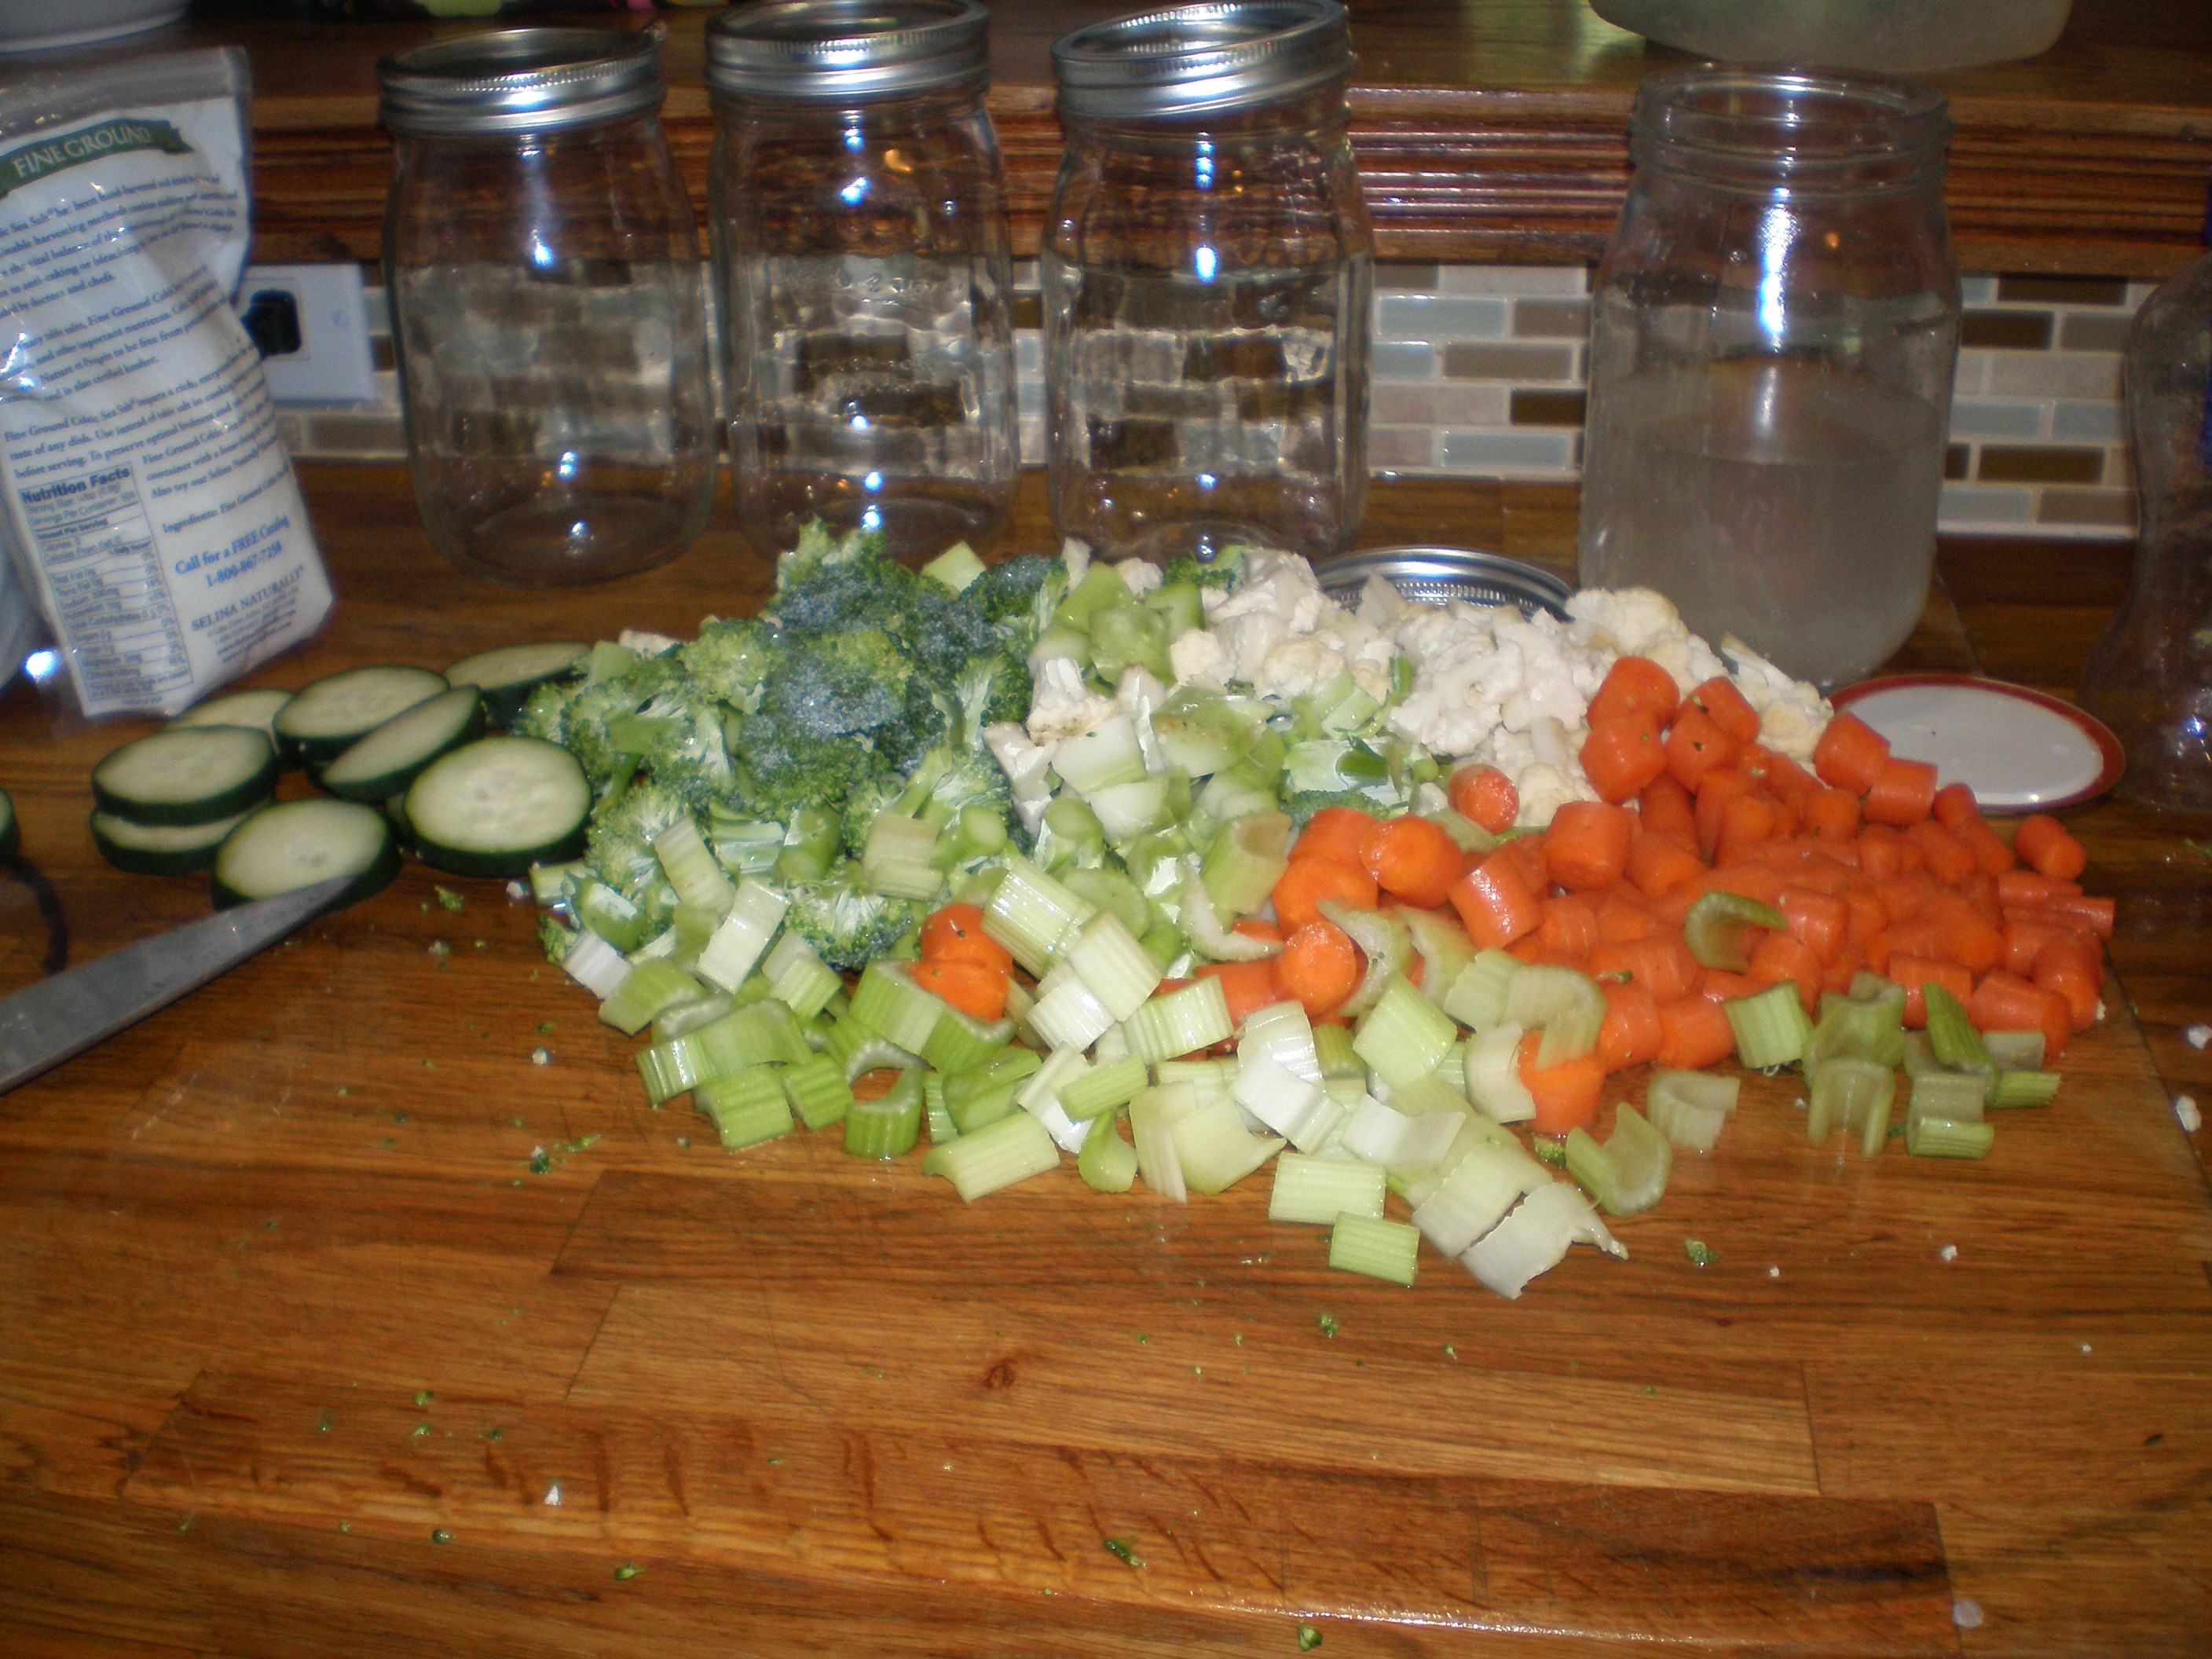
My mom laughed at me when I asked if this could be done with a food processor. Nope, just good ole elbow grease.
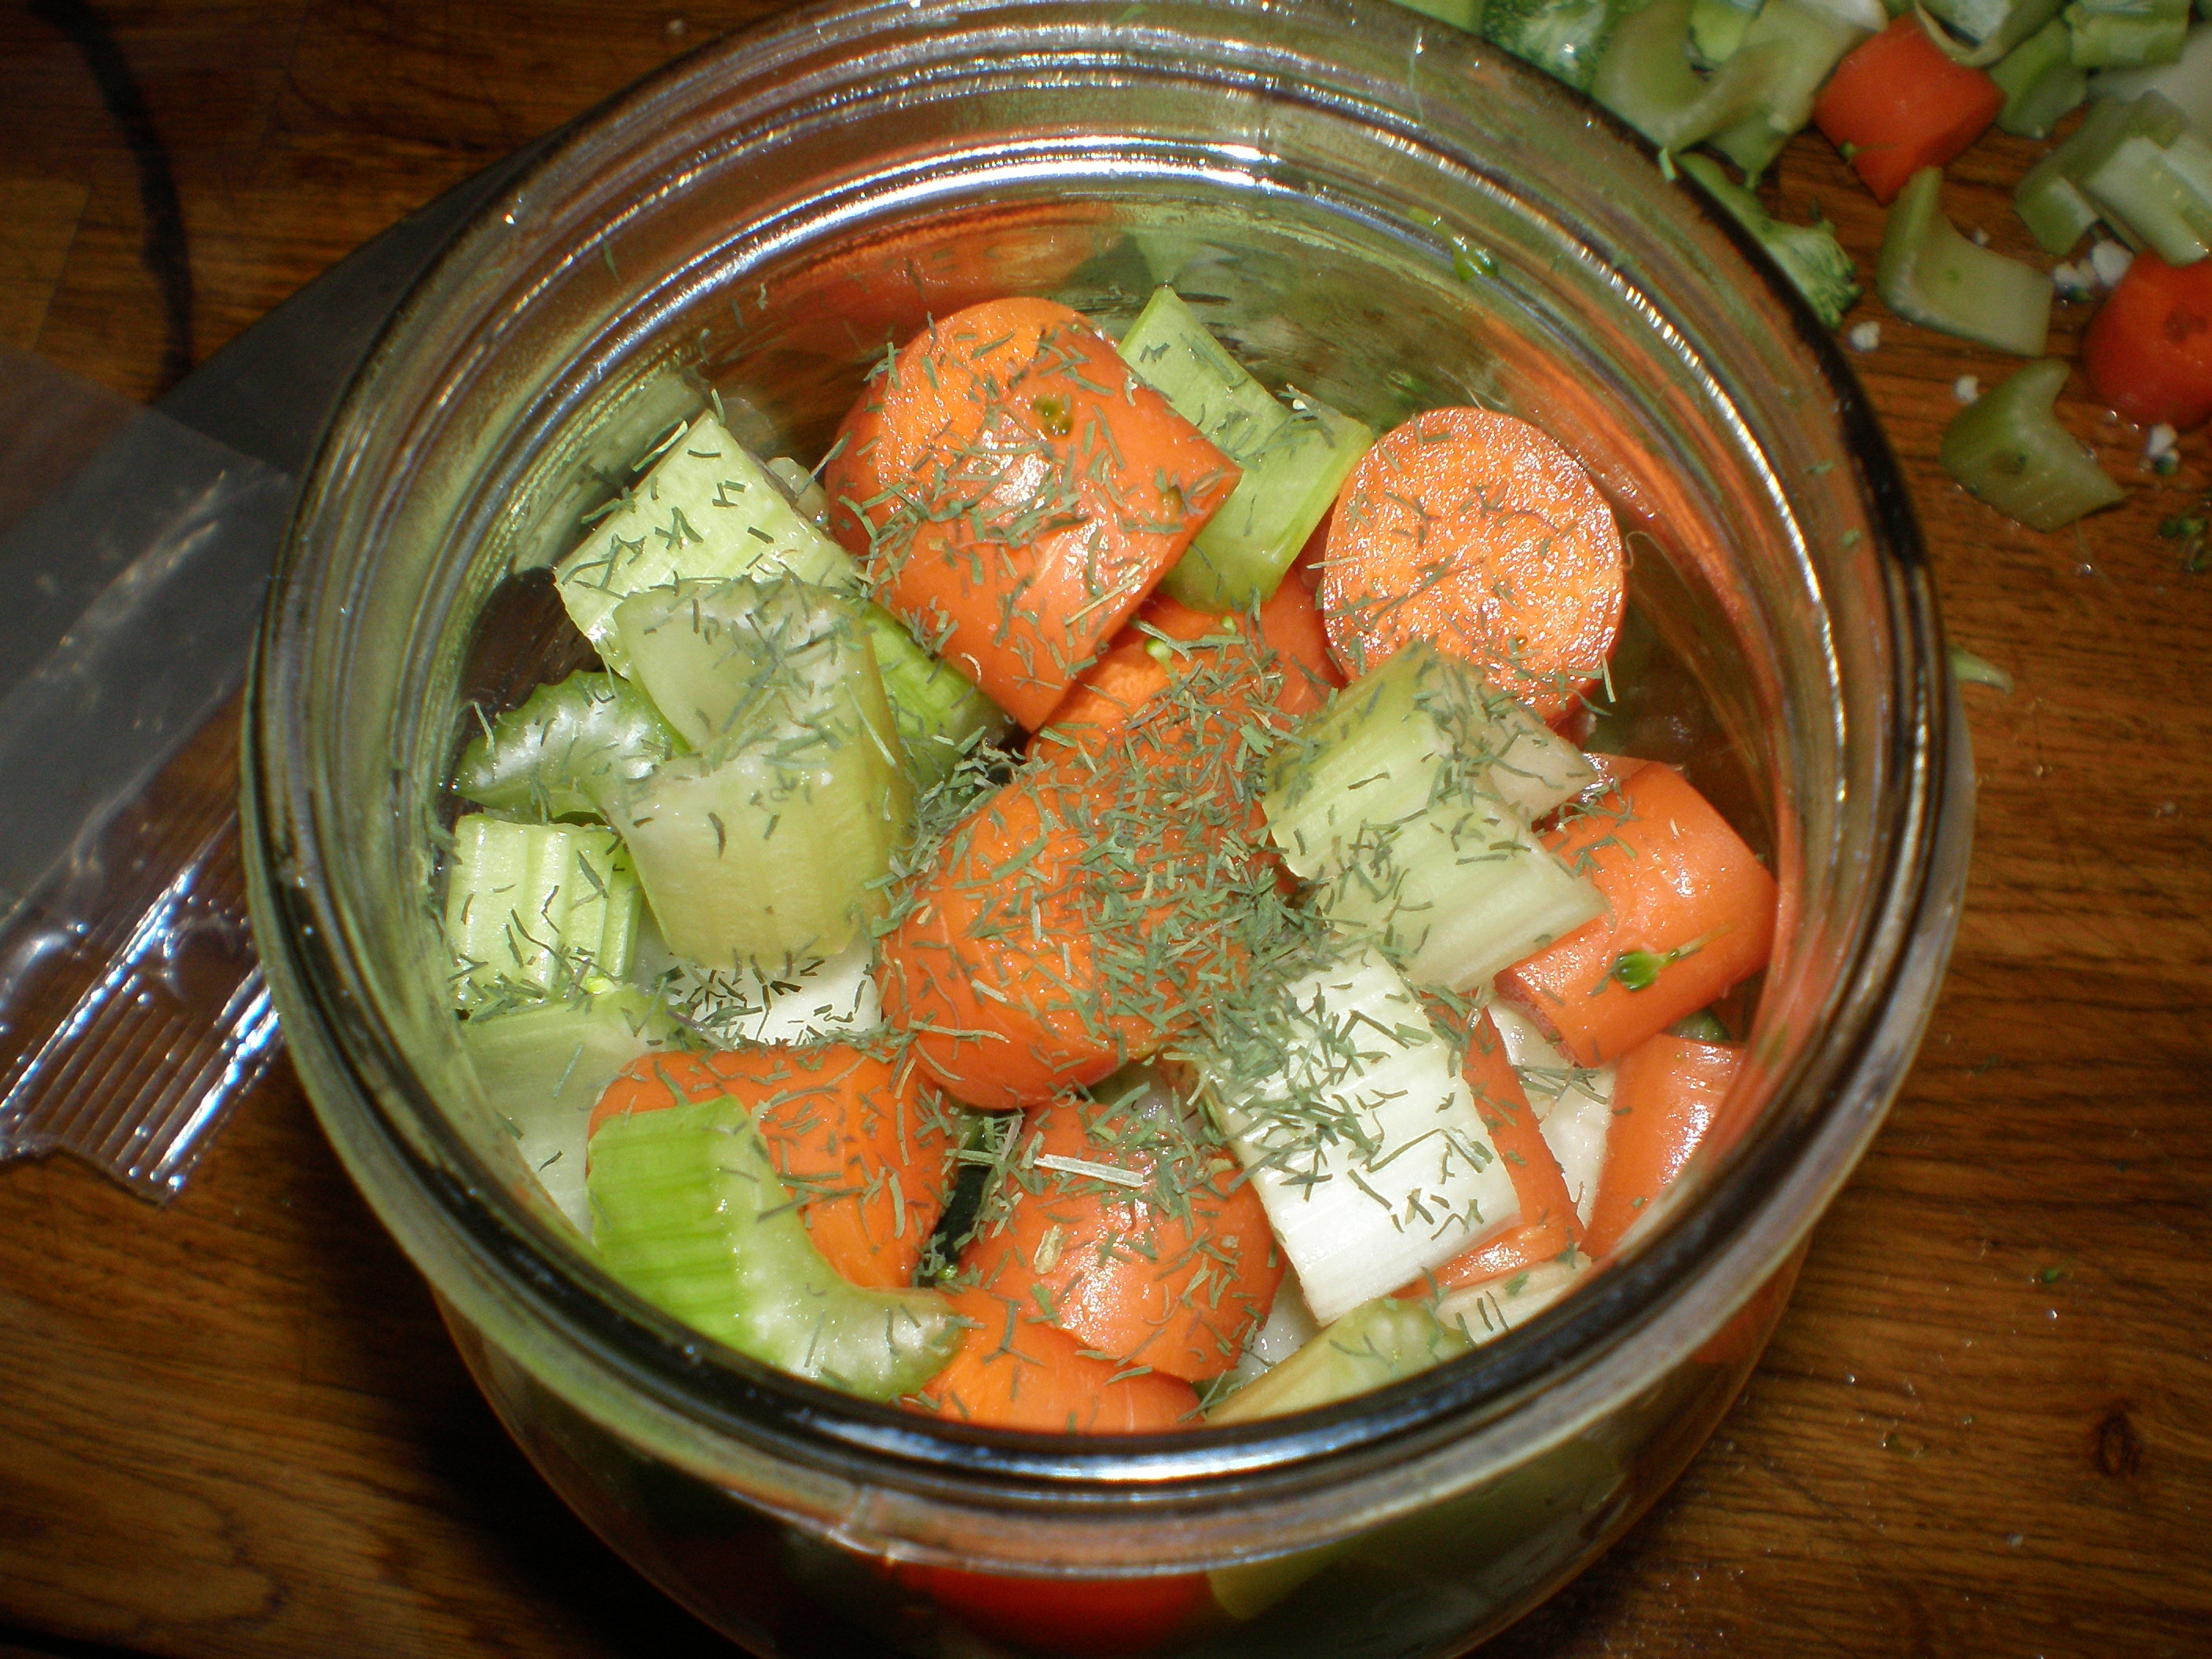
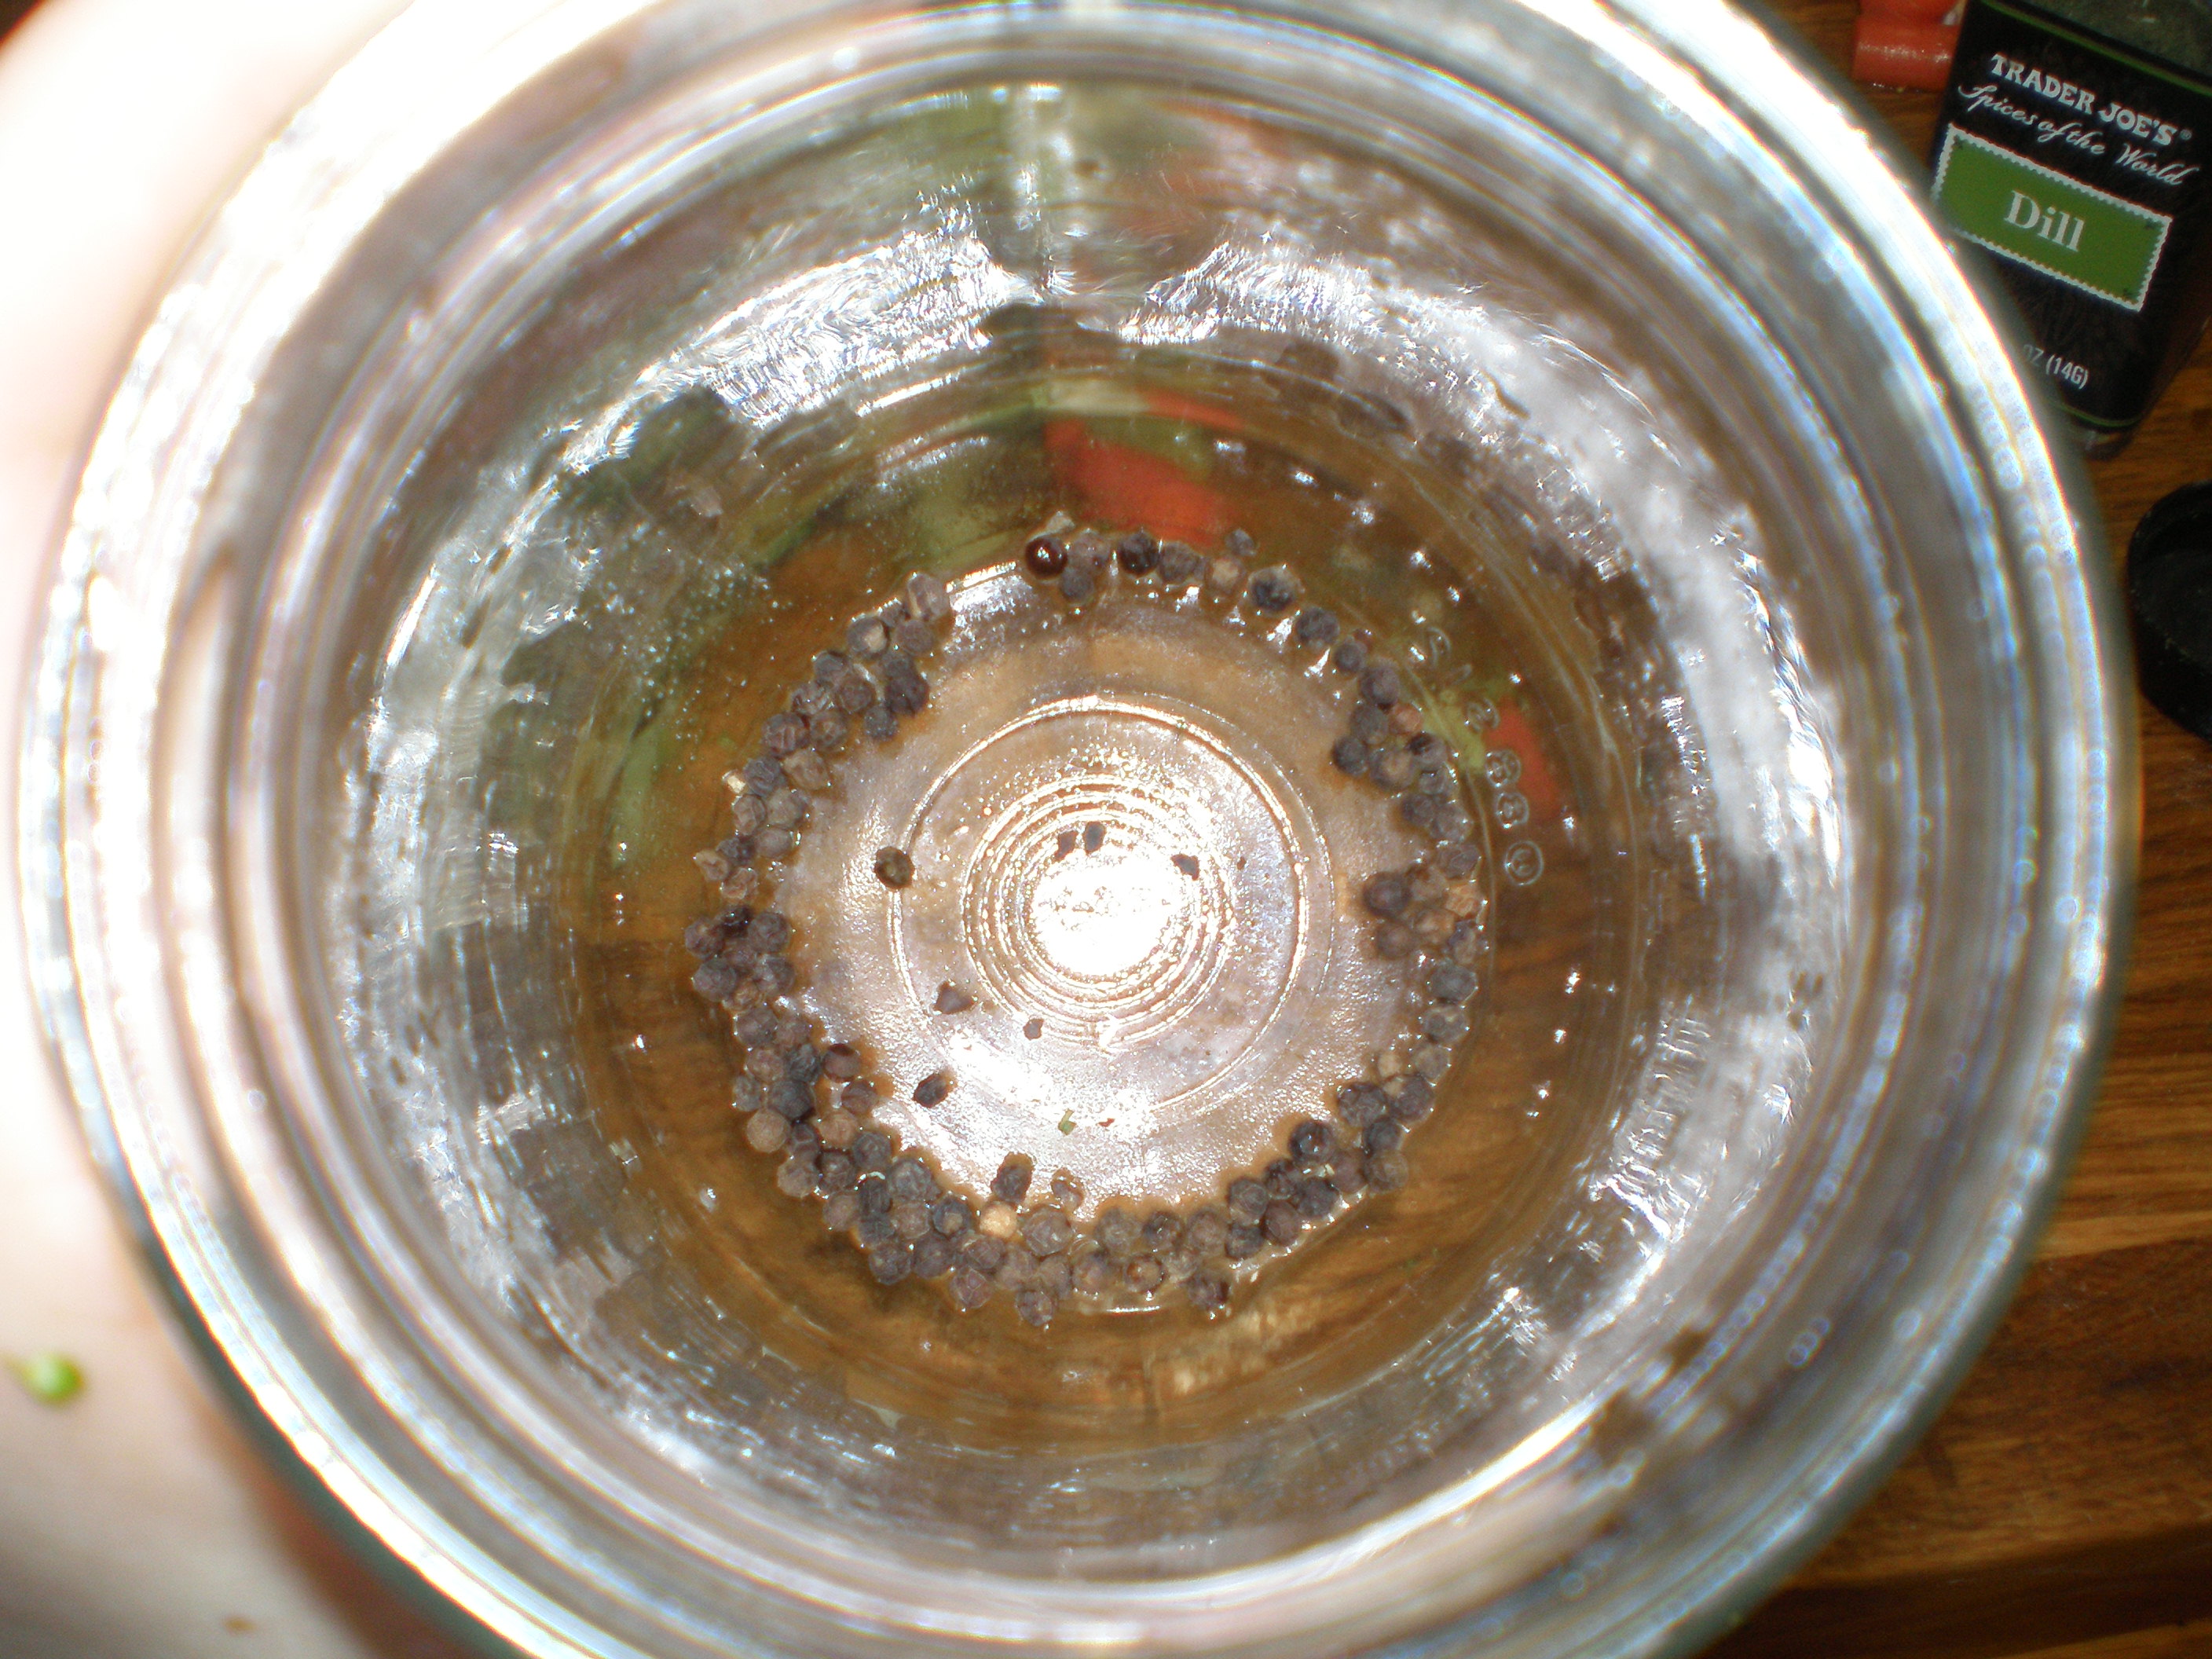
I didn’t want to do too much with spices and such. I didn’t know how strong the flavors would be or how they would mix. I’d rather have too little flavor than too much! I did a jar a broccoli and cauliflower with pepper corns, one with carrots, celery, and cucumbers with dill, and one with everything left and peppercorns. Here’s a visual of how much I added (the dill was dried, fresh would probably be preferable):
After compiling the vegetables, spices, and brine (I used 1.5 tbsp salt:2 cups filtered water; the last jar was slightly more dilute since I was a tablespoon or two short on brine), I added the cabbage leaf. It was hard to nicely fold it. I mostly just shoved it in so that the water was mostly above the cabbage and there was no air below it:
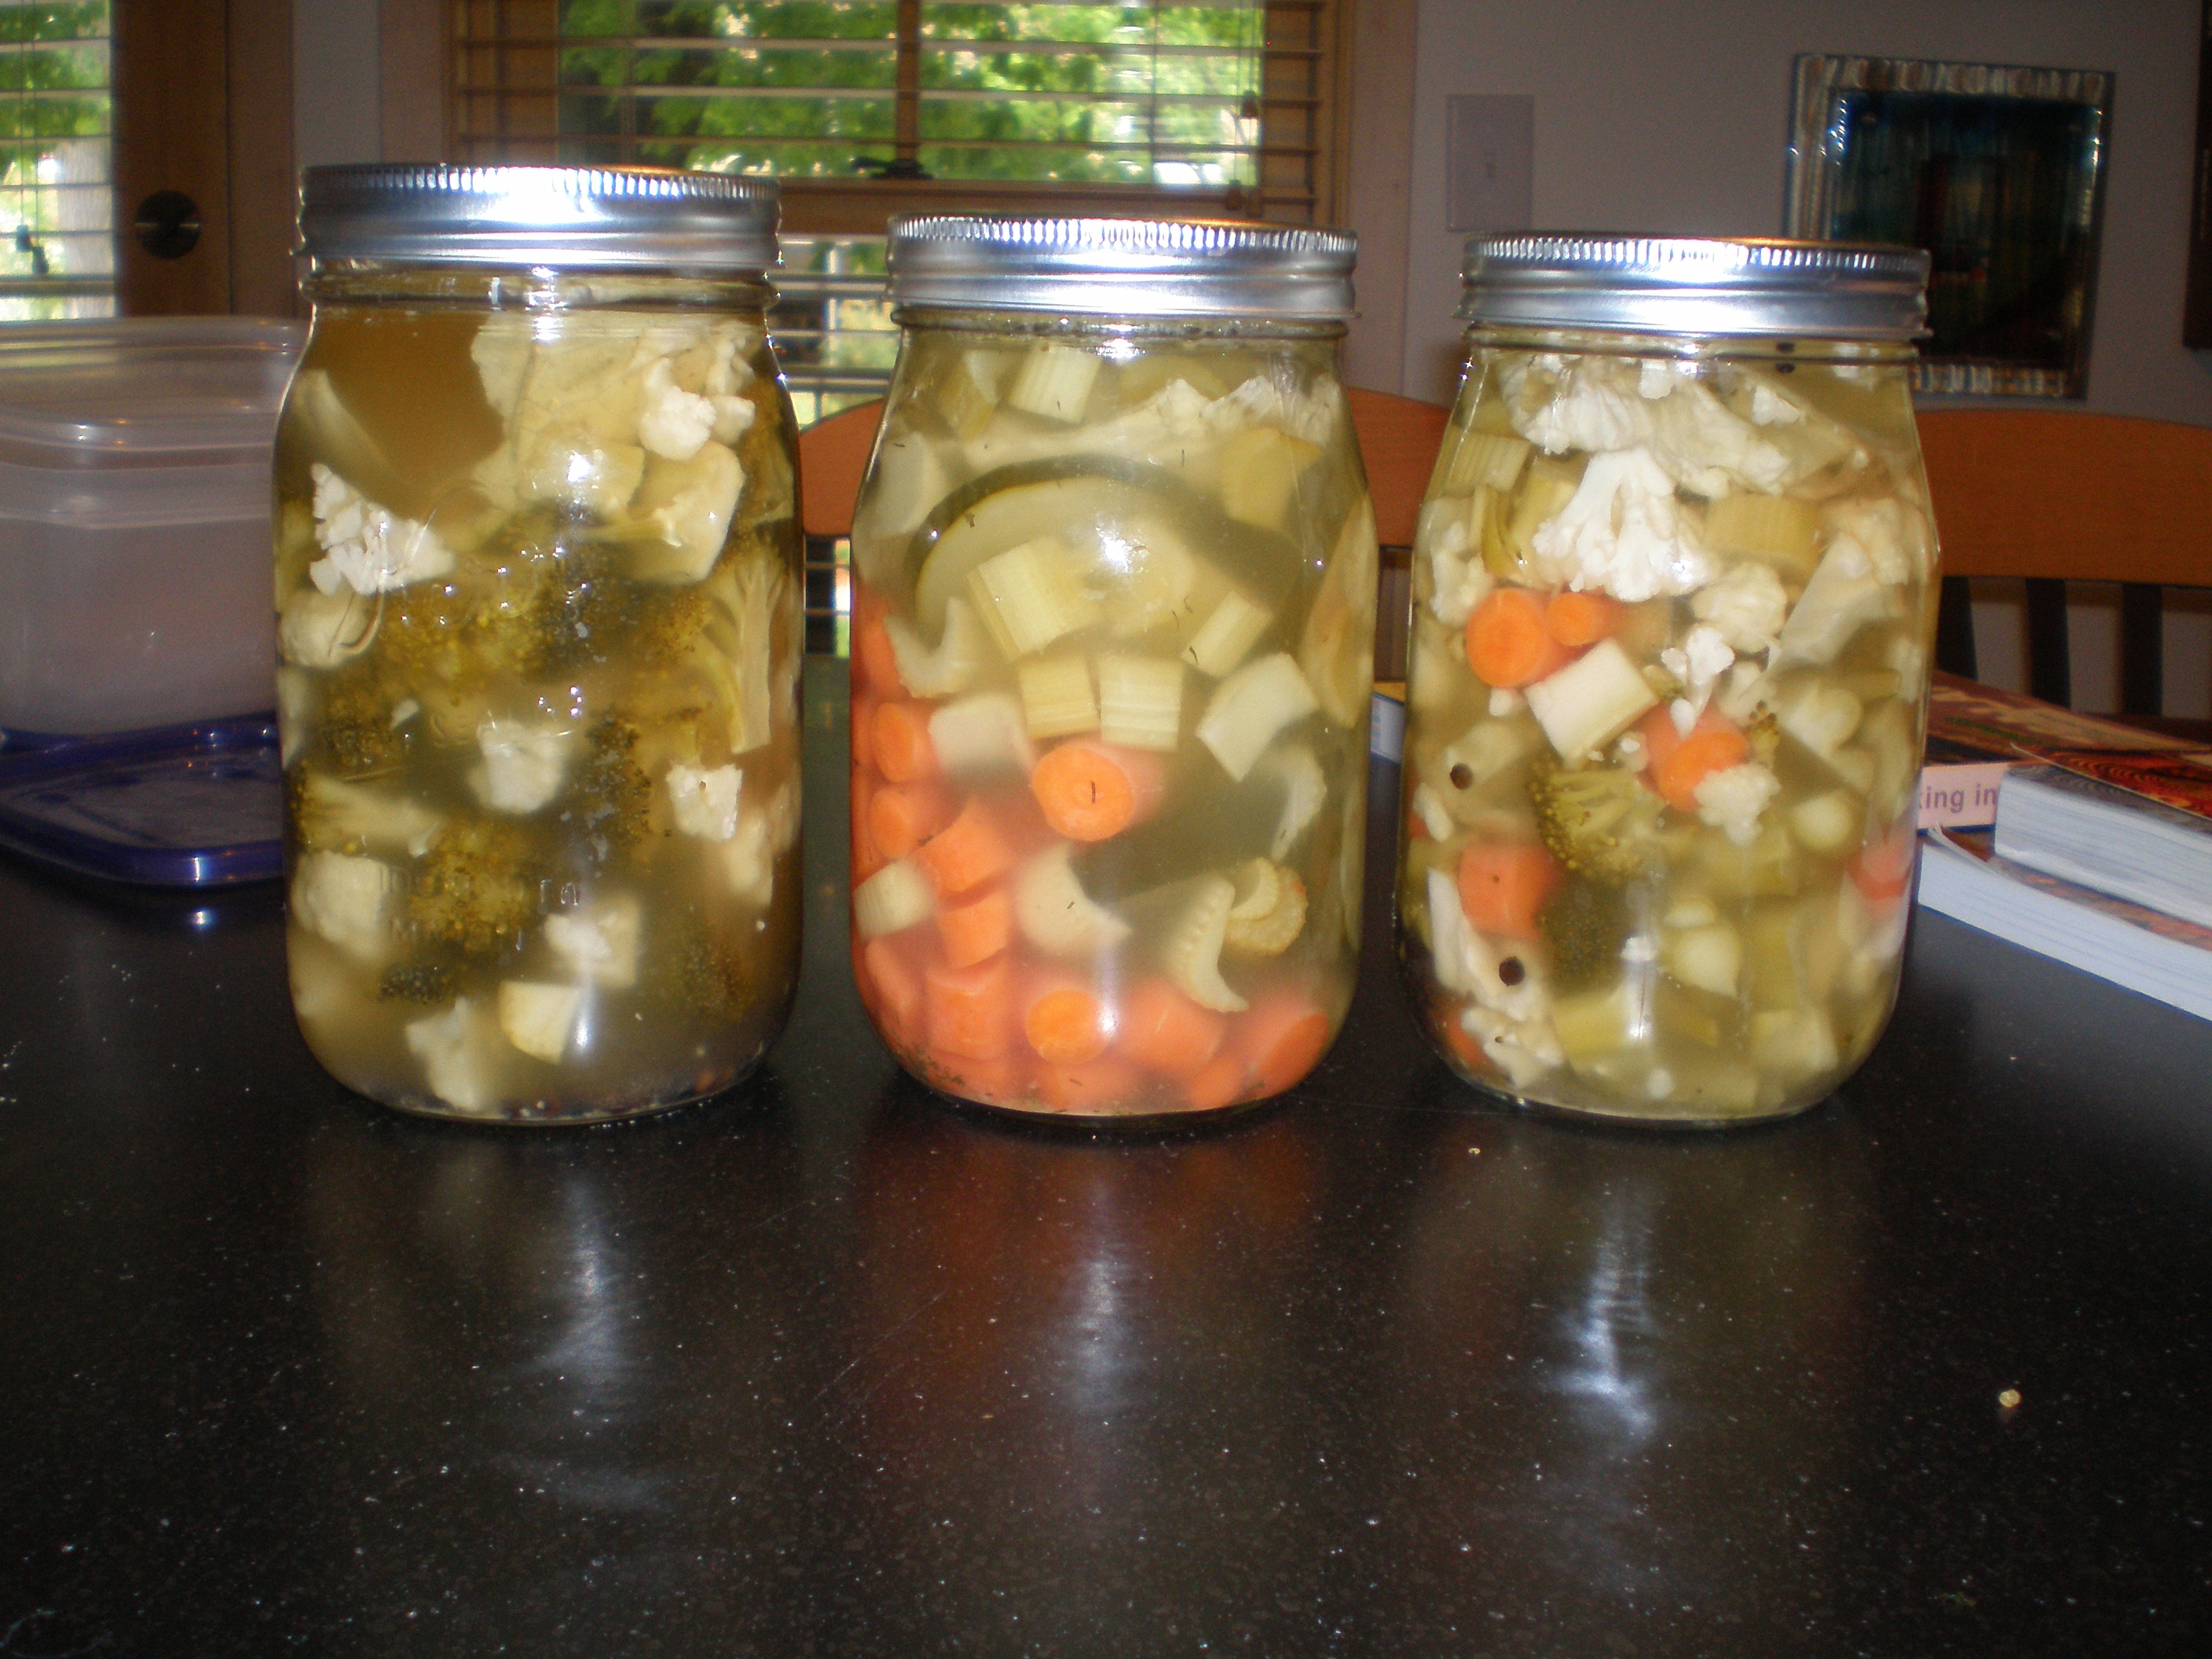
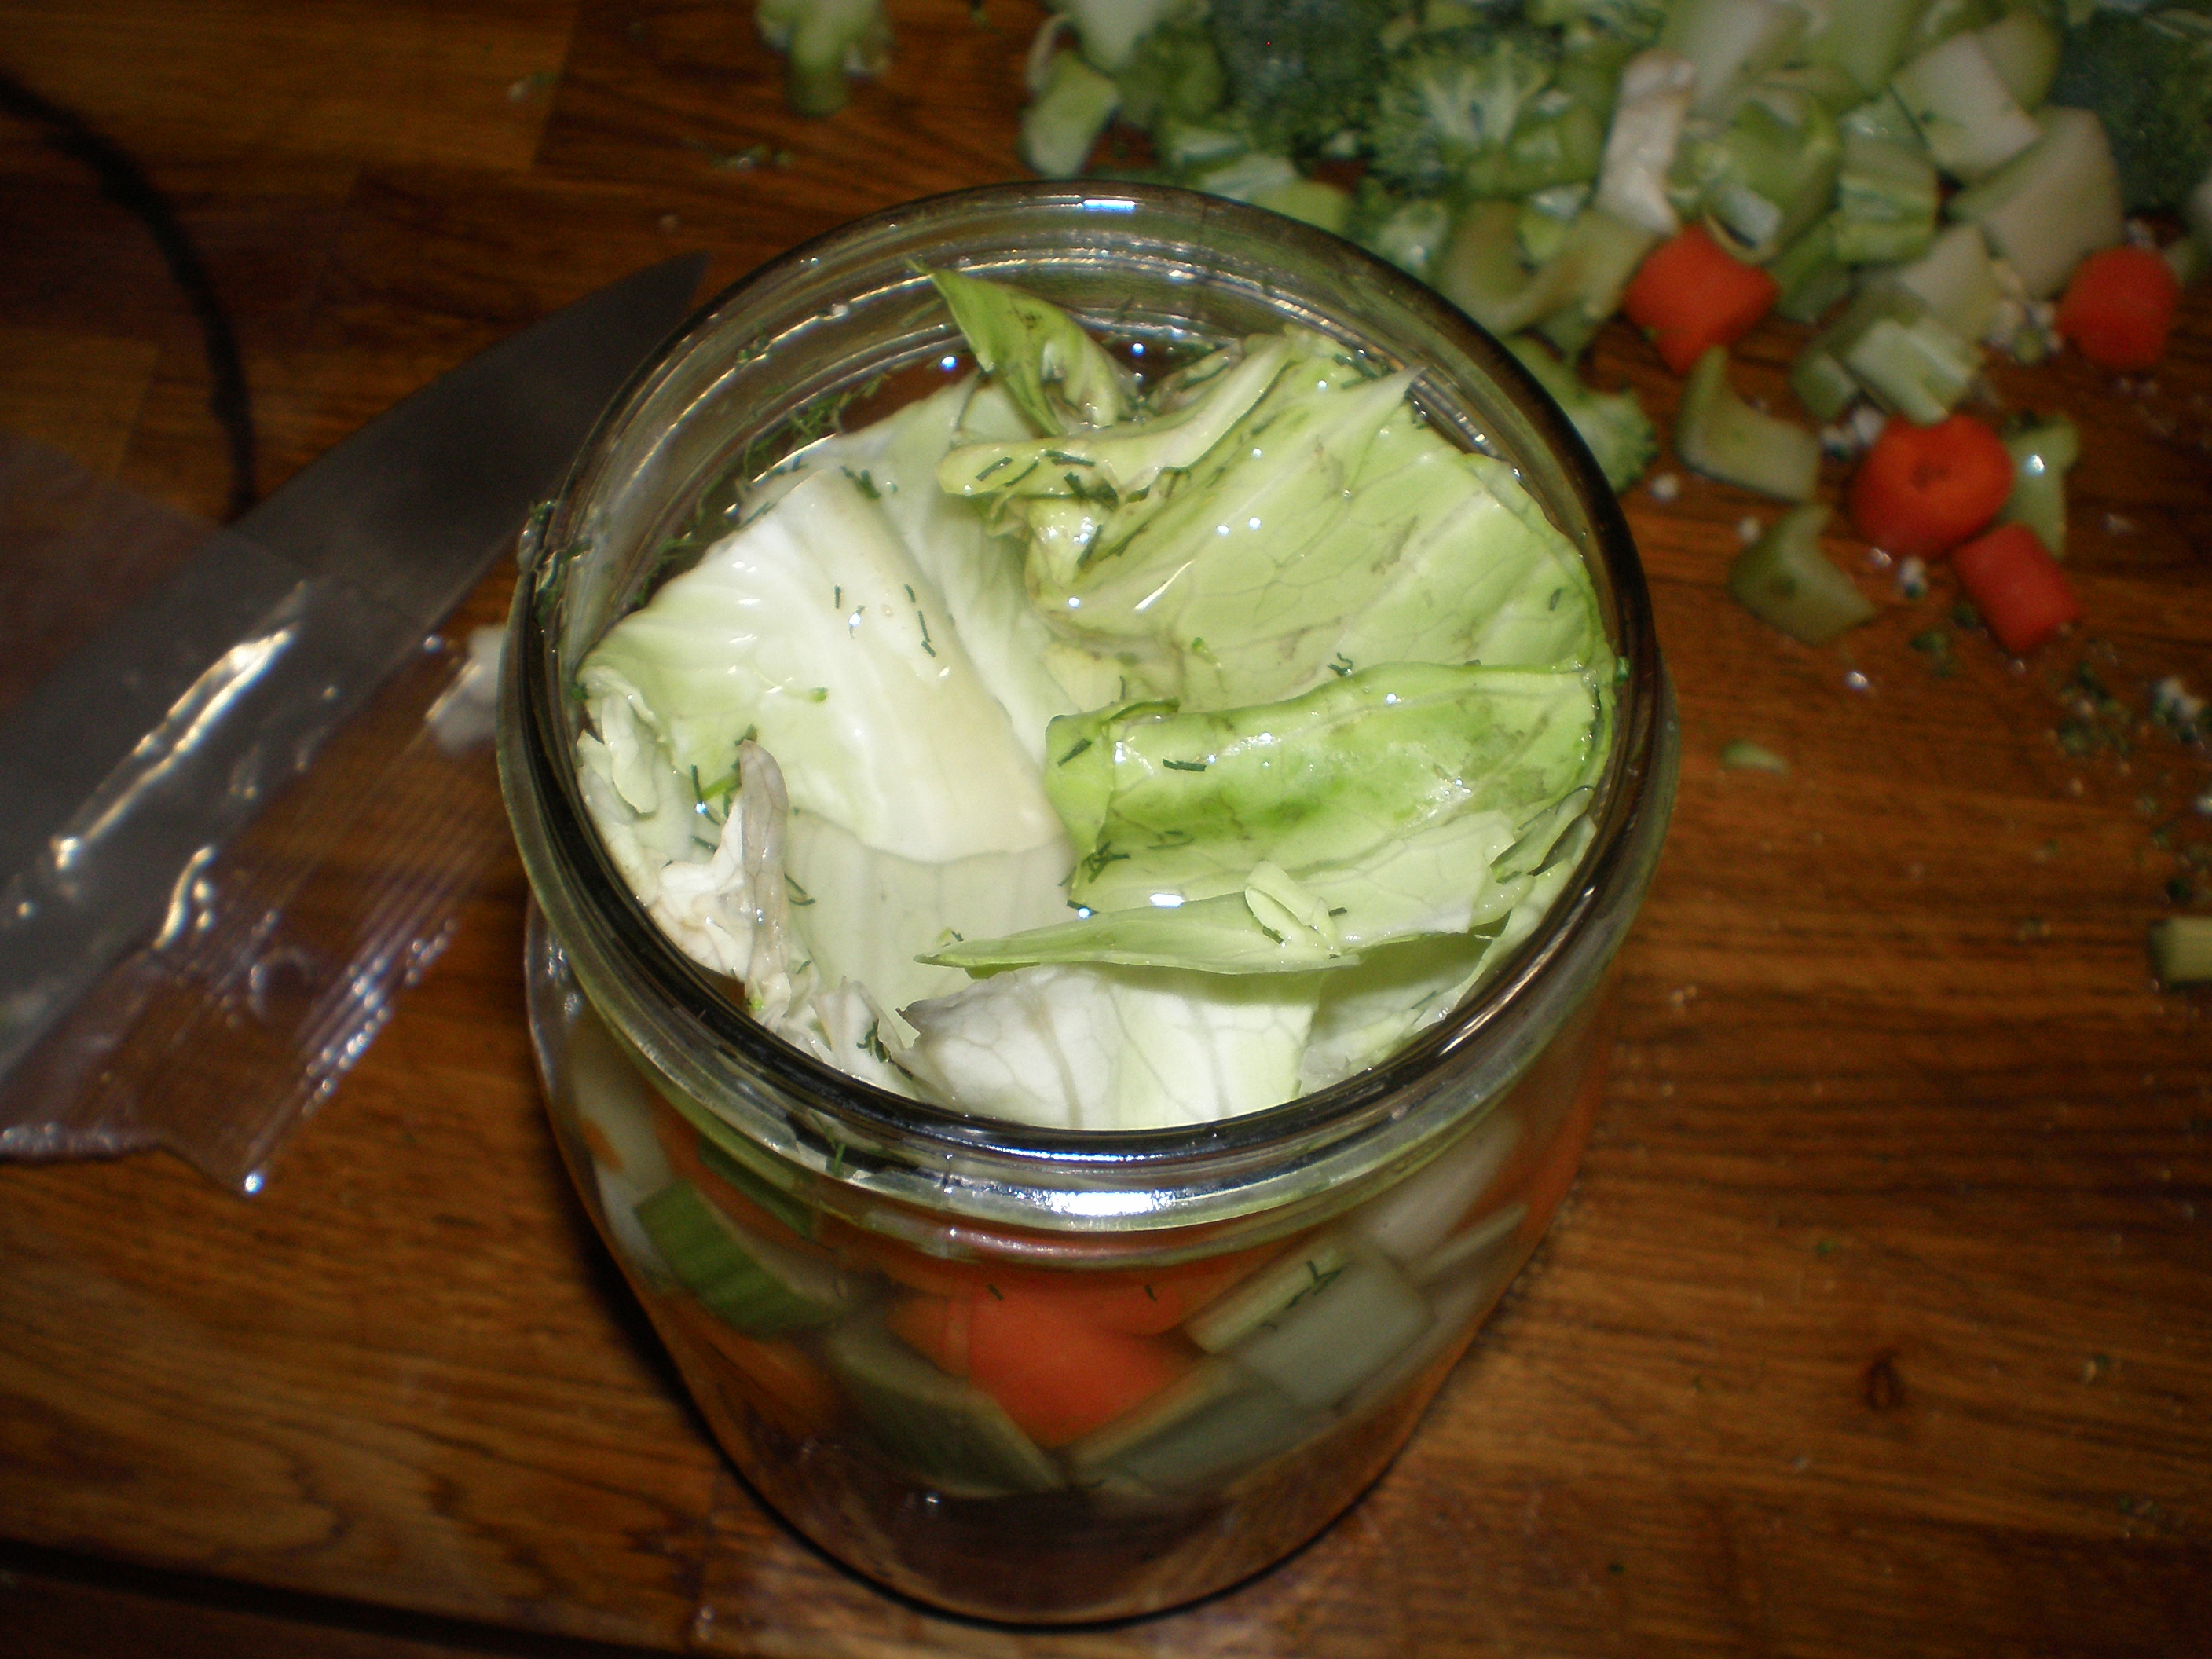 After this all that was left was putting the lids on and letting it sit for a week! I only had metal lids, but it is recommended to use a non-corrosive lid like these. Look at how pretty my jars turned out:
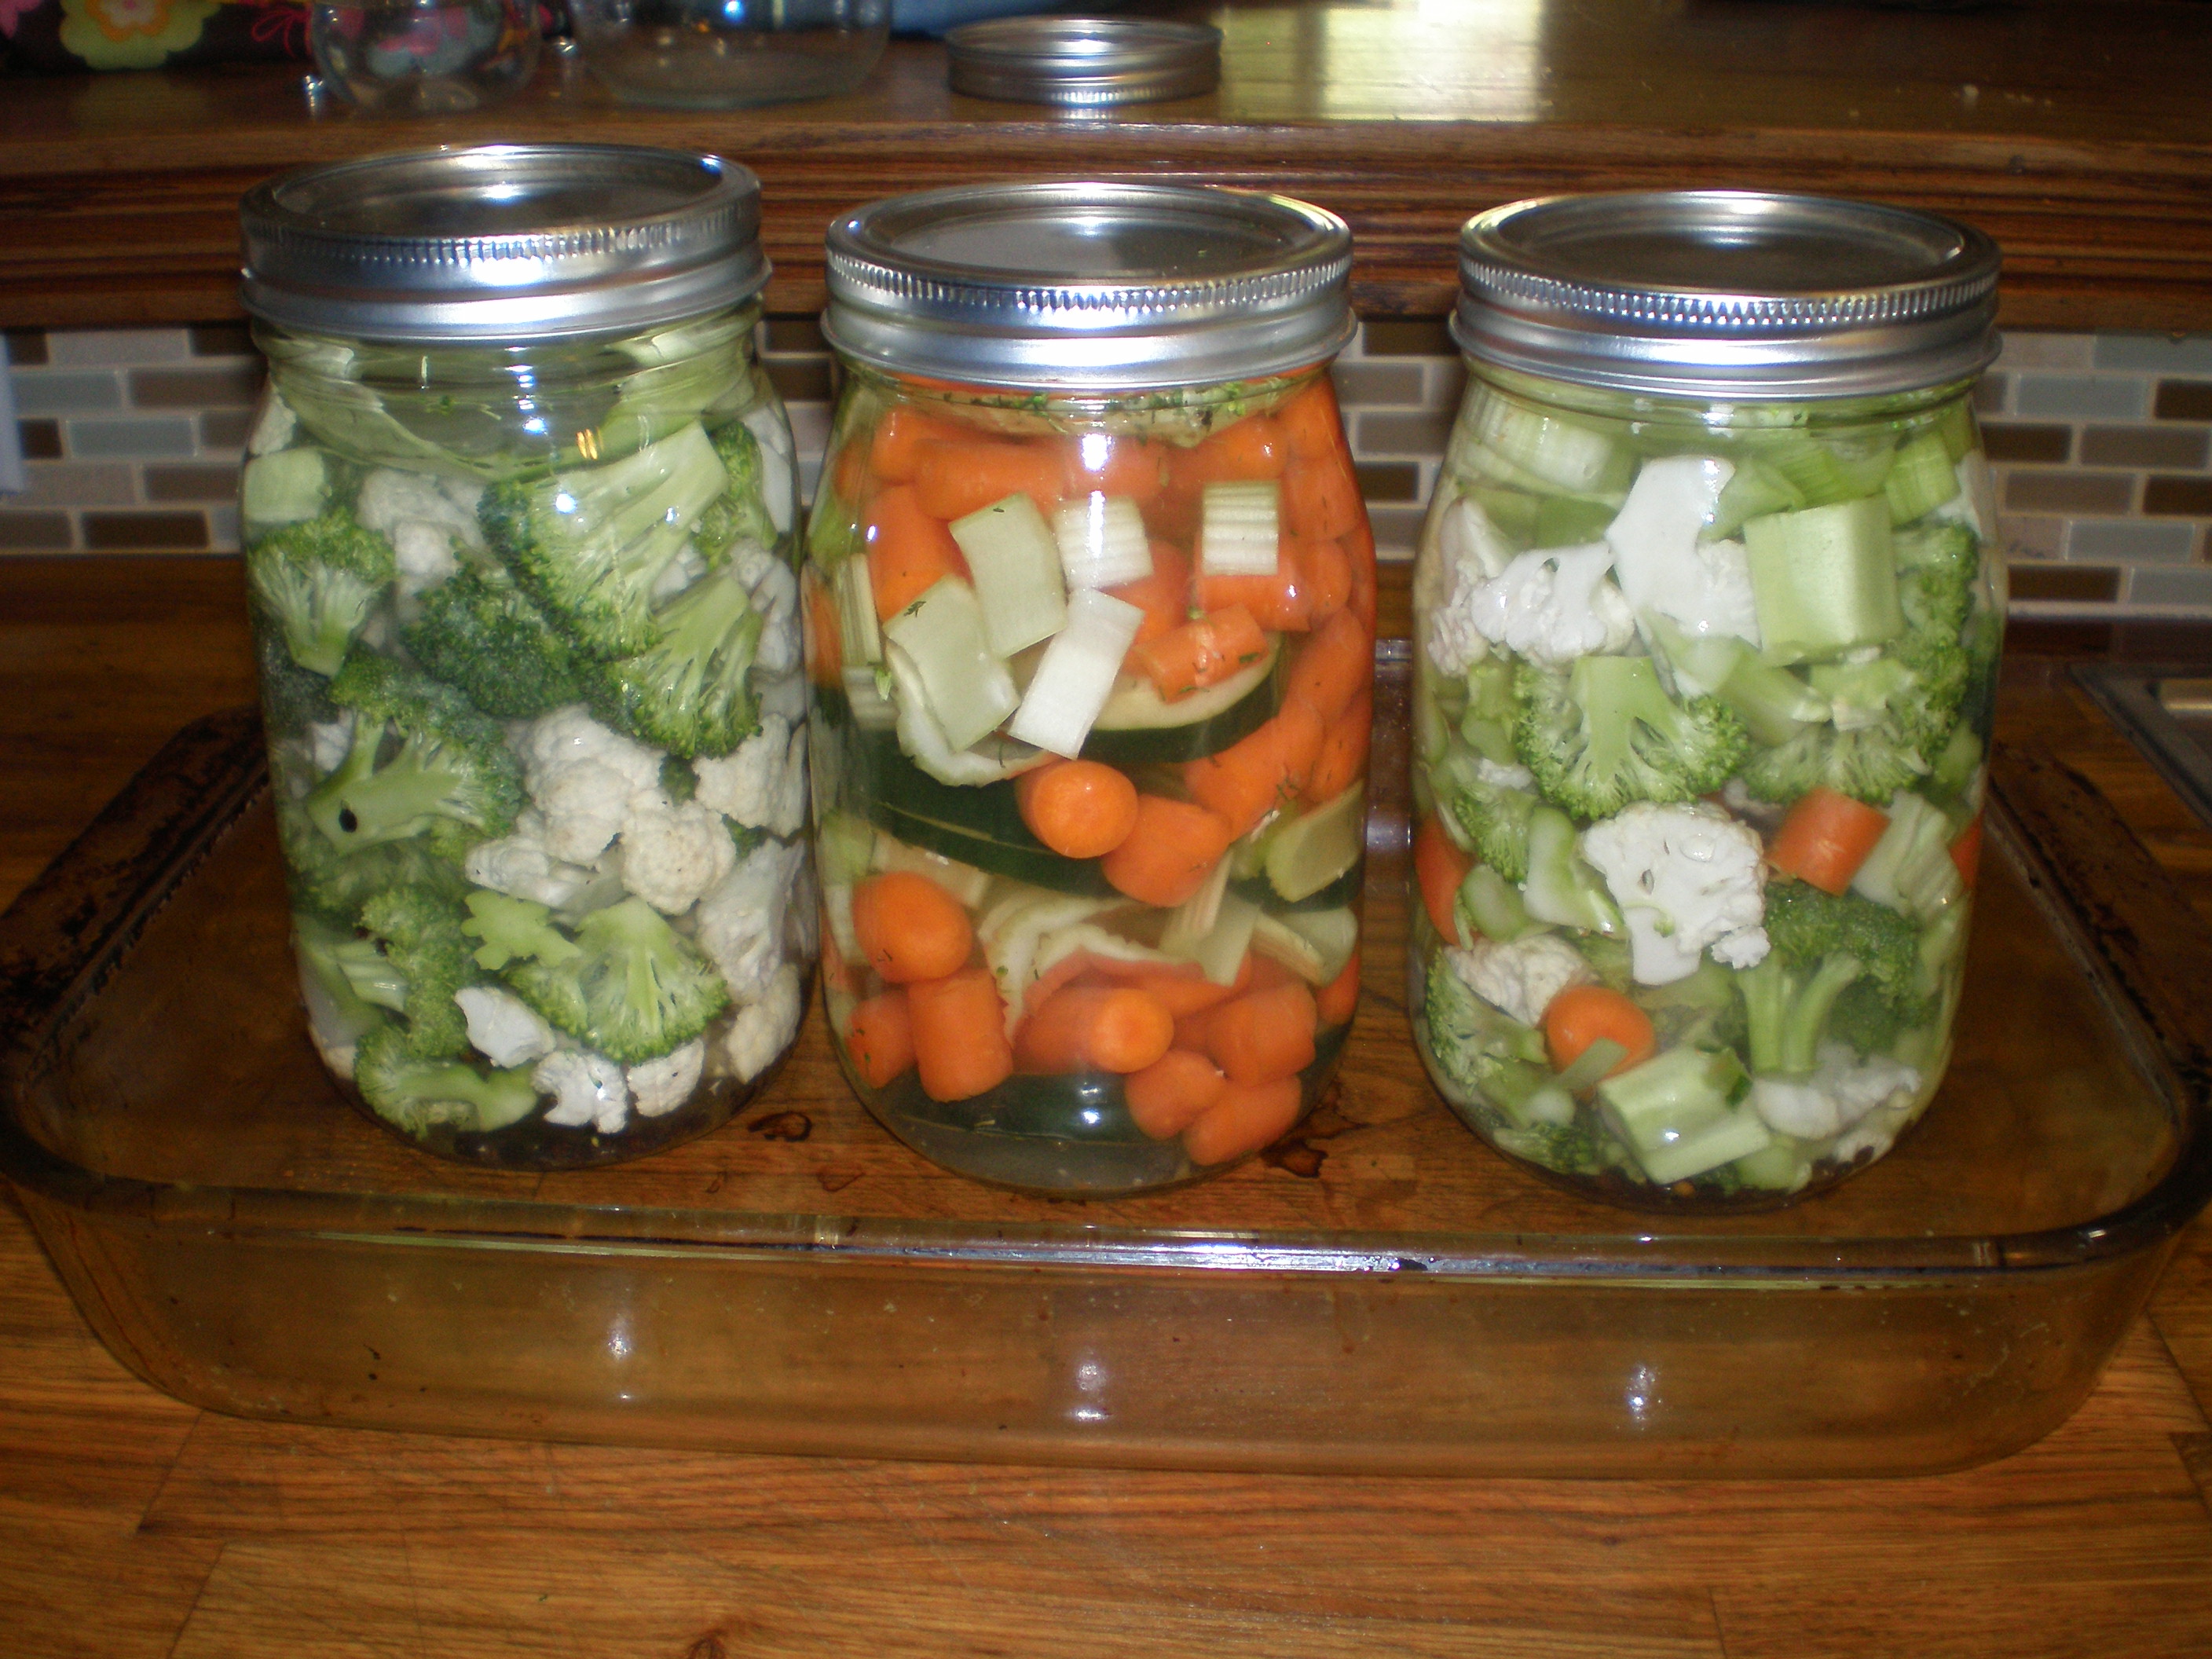 I don’t know how much of these vegetables one should consume in a day, but I plan to have about a 1/2 cup a day. I figure that’s a good amount without me overdosing on salt. In that case, with 3 quarts of veggies these will last me 24 days.
After a week of letting them sit, I tried the veggies. I was worried because, well, they smelled like cabbage. But they tasted like pickles! I’m very pleased with how these turned out. And since apparently everything with food needs to be a learning experience for me, the lesson this time around was that these did not travel well. We put them in a backpack and rode a motorcycle to my dad’s house and the backpack ended up covered in brine. Good to know. Here’s what they looked like after one week:
Like what you see? Please support this blog and help me keep it running by signing up for my newsletter, purchasing products, or donating through the links below:
DISCLOSURE: In order for me to support my blogging activities, I may receive monetary compensation or other types of remuneration for my endorsement, recommendation, testimonial and/or link to any products or services from this blog. The information contained in this post is not intended nor implied to be a substitute for professional medical advice, it is provided for educational purposes only. You assume full responsibility for how you choose to use this information. For more information, click here.
Comments
Trackbacks
-
[…] a great dressing for those of us in Phase Two and beyond. They also mention that the brine from the fermented vegetables can be made into a probiotic salad dressing. So, to make my life easier, I combined these two […]
-
[…] Spaghetti Squash Nomato Sauce Avocado Sauce – Day 55 Blueberry Jam- Day 53 Sweet Potato Fries Lacto-Fermented Vegetables Nettle and Rose Hips Tea- Day 6 Cinnamon Sunflower Truffles Vegan Mint Ice […]
-
[…] Lacto-fermented vegetables – Healthy People, Healthy Planet […]
-
[…] They have probiotics, give a salty crunch, and will last for quite a while in the refrigerator. Get instructions for lacto-fermented vegetables – using just water and […]
-
[…] a great dressing for those of us in Phase Two and beyond. They also mention that the brine from the fermented vegetables can be made into a probiotic salad dressing. So, to make my life easier, I combined these two […]
-
[…] Spaghetti Squash Nomato Sauce Avocado Sauce – Day 55 Blueberry Jam- Day 53 Sweet Potato Fries Lacto-Fermented Vegetables Nettle and Rose Hips Tea- Day 6 Cinnamon Sunflower Truffles Vegan Mint Ice […]
-
[…] Lacto-Fermentation of Vegetables from How We Flourish […]
-
[…] Carrots over at Girl Meets NourishmentCrunchy Pickle Slices also by Girl Meets NourishmentLactofermented Veggies, and lots of them, from How We […]
-
[…] Lacto-fermented vegetables […]
-
[…] Lacto-Fermentation with Pictures from How We Flourish […]
-
[…] with zucchini, spinach, and carrots. Garlic and lard added before serving. A teaspoon of brine from lacto-fermented carrots. Snack: Mug of broth Dinner: Butternut Squash Puree (recipe in Healing Patiently) with lard […]
-
[…] – My husband works nights. So dinner is simple and something he won’t like: Sardines, pickles, and nut- and dairy-free […]



Thanks for sharing your post on Wildcrafting Wednesday! I am doing a similar ferment with Kimchi- it will be spicy!!!
Wow, it’s that simple? You don’t have to add any starter or anything to get the fermentation going, just the brine?
Nope! Isn’t that awesome? I was really surprised myself, but it works.
I’d have thought that mason jars would have traveled ok, if the lid were tight enough…. OH…. I know! If the veggies were still in an active fermentation phase, they would still be off-gassing, and that would build pressure in the jar, and cause it to leak. So for lacto-fermented foods that you want to carry in a backpack, you’d need to ferment them for about 6-8 weeks (about two weeks out of the fridge, the rest in the fridge), so that they are no longer building pressure so fast.
Then get a good lid that tightens well – a standard canning lid should work if you get it tight enough, but you might also search online for jar lids that are a single piece with a silicone, plastisol, or latex gasket built into the lid – that kind will tighten down a bit more than a canning lid (many companies sell metal lids like this – you can email me if you need help finding one). Our company also makes a silicone gasket that works with a Ball plastic storage lid, which is an option, but not necessarily the least expensive option.
Yep, that’s it. My mason jars normally travel fine, but not when I’m in the middle of fermenting.