I may receive a commission if you purchase something mentioned in this post. See more details here.
Did you see the shawl I made and wrote about last month? As nice as it was, it was a bit small and crumply. I needed to block it to make it as beautiful as it is meant to be for my wedding day.
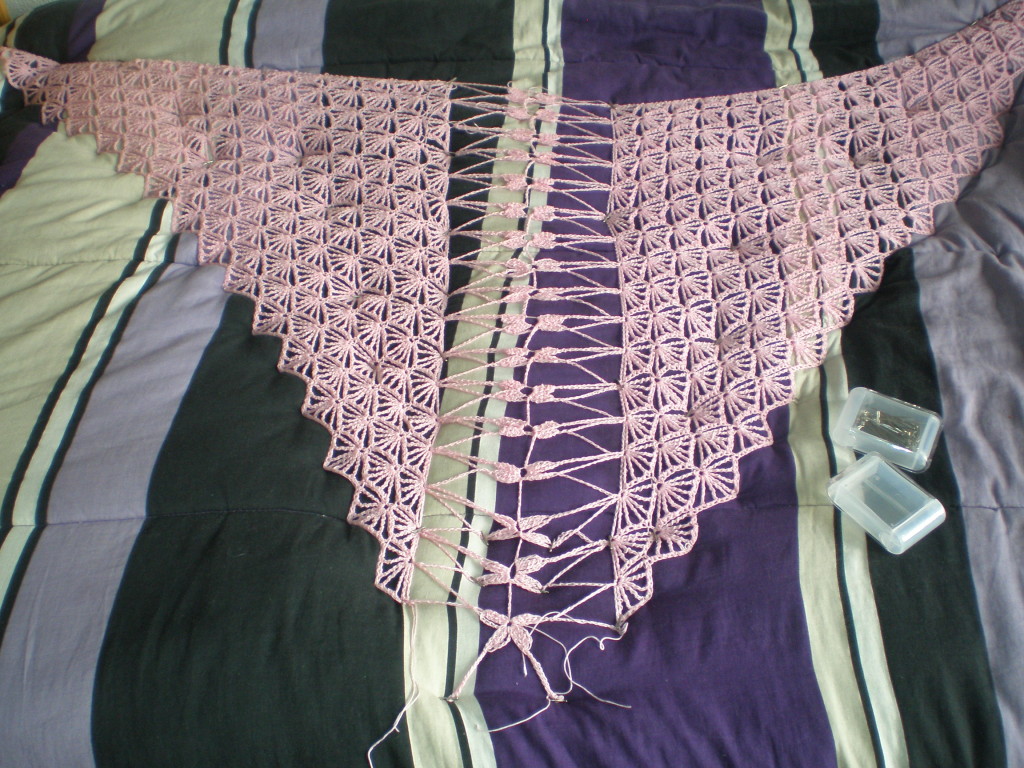
I have never blocked a project before, so I wasn’t entirely sure of what to do. I purchased both T-pins and normal blocking pins from KnitPicks – one box each – hoping that would be sufficient for what I need. It was, but it was close! I used the entire box of blocking pins and almost all of the T-pins to block my shawl into this:

High tech set up I have there. There are blocking mats for sale that can be very useful, I’m sure, for blocking pieces and having them not be in the way of, your know…sleeping.
Or you can be cheap and use your comforter/mattress pad/mattress as a blocking mat!
It actually works pretty well. The pins I was using go through the fabric without too much effort and it is deep enough for me to insert them all the way, creating a very good anchor. Just make sure you start in the morning so that the blocking is finished before bed!
I started by soaking my shawl and gently ringing it out until it was damp, but not sopping. This is for a process called wet blocking.
Like I said, I didn’t really know what I was doing, so I just started pinning stuff down! Once I got a few pins in, I was able to see how I wanted this shawl to take shape, so I started by pinning the inner edges of the shawl, where the dragon flies join the two halves, as far apart as I wanted them. This gave me a good anchor for the long (but not hard part): pinning each half.
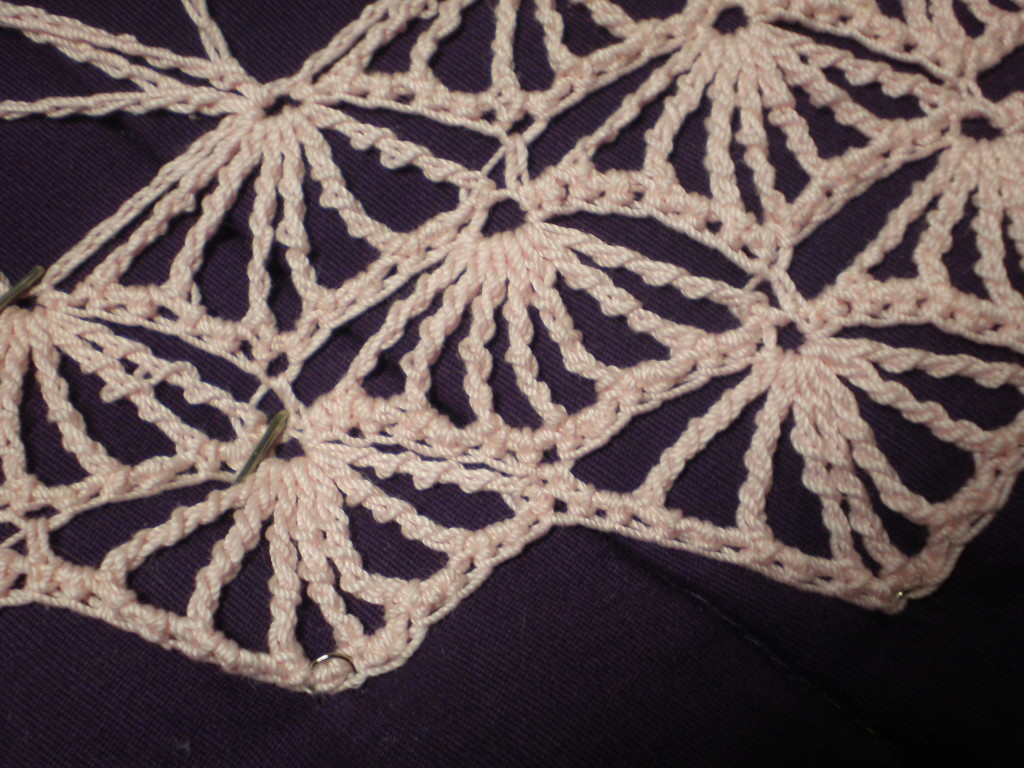
The main concern with pinning the shawl was to stretch it out enough while still retaining its shape and edging. With the inner side pinned, I decided to focus on the edging. I used my hands to stretch out a section of shawl, then I held that stretch the best I could with one hand while the other inserted a pin. On the narrow end, this just consisted of placing a pin at the apex of the shell. On the wider end, I placed a few pins in the middle to help hold it in place. Up close it is looking pretty good:

This continued up the shawl, one half and then the other. Occasionally I would see that the blocking I did higher up stretched something lower in a way I didn’t like, so I simply took the pin out and replaced it in a better location.
Just keep pinning, just keep pinning, just keep pinning, pinning, pinning. What do we do? We pin, pin, pin.
That’s kind of what is feels like after awhile.
But then you finish and it looks beautiful and you get really excited that your wedding shawl is almost done! Now you just have to wait for it to dry before you get to remove all of those pins.
And the result is a lovely shawl that is no longer crumply. Or whatever you decided to make.
Like what you see? Please support this blog and help me keep it running by signing up for my newsletter, purchasing products, or donating through the links below:
DISCLOSURE: In order for me to support my blogging activities, I may receive monetary compensation or other types of remuneration for my endorsement, recommendation, testimonial and/or link to any products or services from this blog. The information contained in this post is not intended nor implied to be a substitute for professional medical advice, it is provided for educational purposes only. You assume full responsibility for how you choose to use this information. For more information, click here.


Leave a Reply