I may receive a commission if you purchase something mentioned in this post. See more details here.
I have always wanted to learn how to make yogurt, but I put it off until I started the GAPS diet. I thought it would be too much work, and I didn’t have a yogurt maker or a fancy dehydrator. However, I quickly learned that making yogurt at home is an incredibly easy and frugal way to get your dairy in!
Why make your own yogurt?
- It is super easy and requires no special equipment
- You can ferment it for 24 hours or more to ensure all the lactose is consumed
- You know it has live probiotics in it!
- You can pick your quality of milk, rather than searching the shelves and multiple stores for a yogurt that will work.
- There are no funky added ingredients
- You can flavor each batch or bowl however you want
- It is super frugal! I get the highest quality of milk legally available for sale in my state, and I still only pay $1.90 for a QUART of yogurt
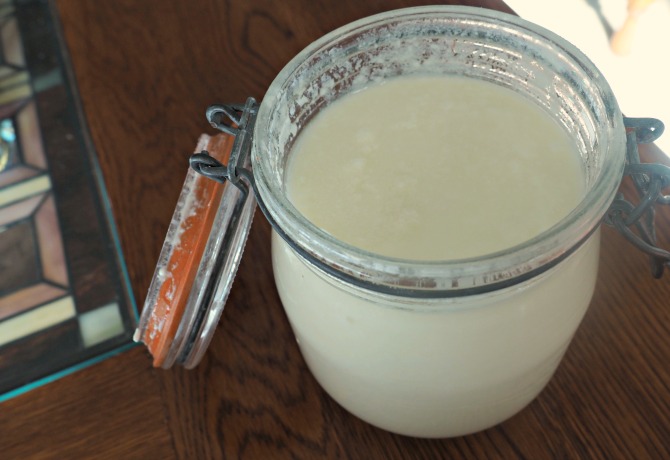
A note on quality
All traditional food diets recommend using raw milk. If you have that option, definitely go for it! You can learn how to make raw milk yogurt here. However, many people do not have access to raw milk. I’m hear to tell you that that is okay! In fact, this tutorial is for milk that has been pasteurized. Just try to use the highest quality milk possible. I get grass-fed, organic, non-homogenized, and batch-pasteurized milk from my local co-op. This is literally the highest quality of milk that can be purchased legally in my state, and it is only pasteurized at a temperature of 145 degrees Fahrenehit. (I use Kalona Supernatural, if you are curious) I have no qualms about using it to make yogurt. To learn more about milk quality, read this article by Food Renegade. Only you can decide what kind of milk to feed your family, but if you do not have access to high quality milk, for whatever reason, consider whether you need it or not.
Tools for yogurt making:
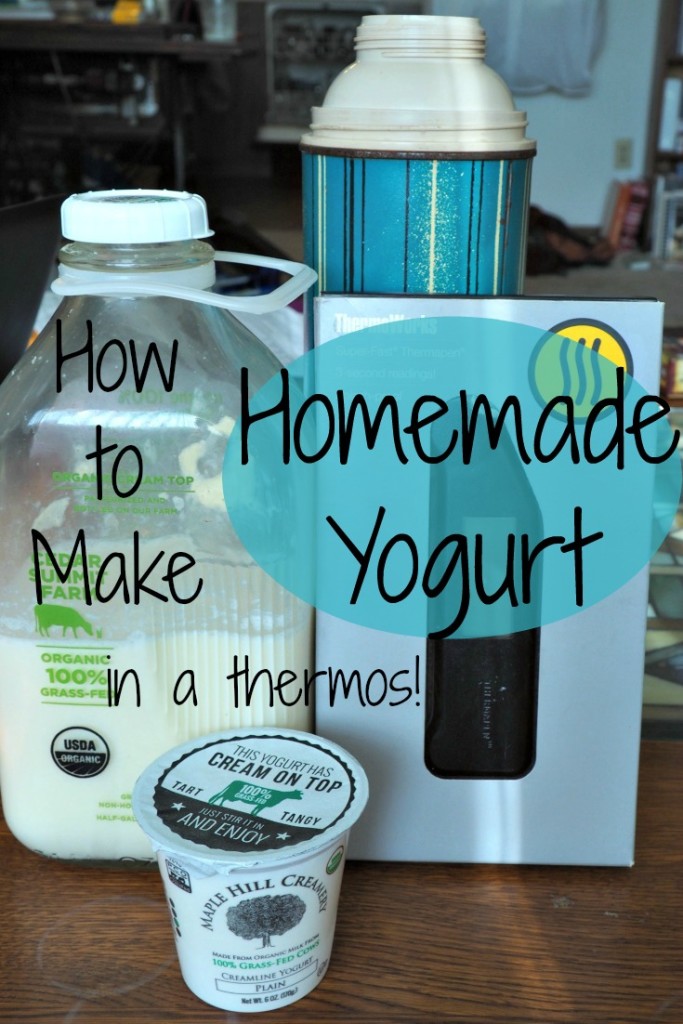
Like I mentioned, you don’t need fancy equipment to make yogurt. In fact, I make my yogurt in a thermos! That’s the technique I’ll be sharing today. For other yogurt making techniques, scroll to the bottom of this post. To get started you’ll need:
- A 32oz or larger thermos that can maintain a temperature of 105-113 degrees for 24 hours (do a test run with water to make sure your thermos can do this)
- A thermometer (not required, but it makes the process much easier)
- A saucepan
- A liquid measuring cup
- Whole milk – use the size of you thermos less 1/4 cup
- 1/4 cup yogurt with live active cultures, at room temperature (or a yogurt starter)
How to Make Yogurt (without a yogurt maker)
Heat milk to almost boiling, about 180 degrees Fahrenheit. Keep covered and stir occasionally. This will kill off any bad bacteria that could interfere with the culture.
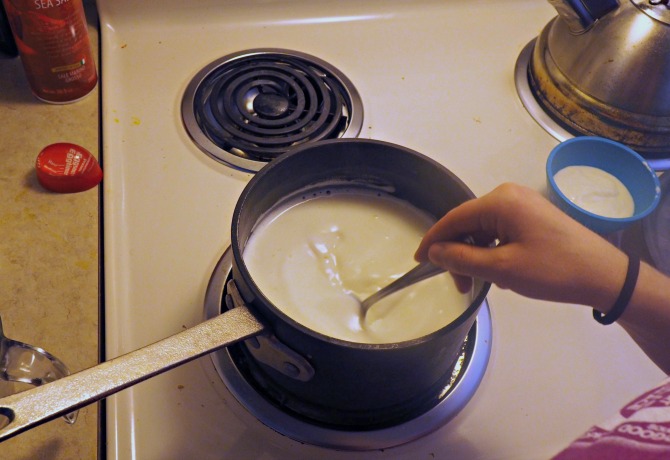
Cool milk to 113 degrees Fahrenheit. Yogurt should be cultured at 105-113. With the amount of transferring required, I recommend only reducing the temp to 113 or so to allow enough “cushion heat.”
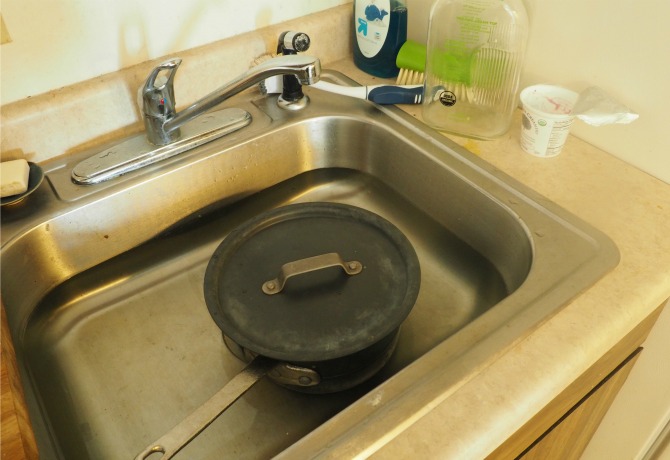
I cool my milk in a cold water bath in the sink – it cools very fast this way so keep an eye on it!
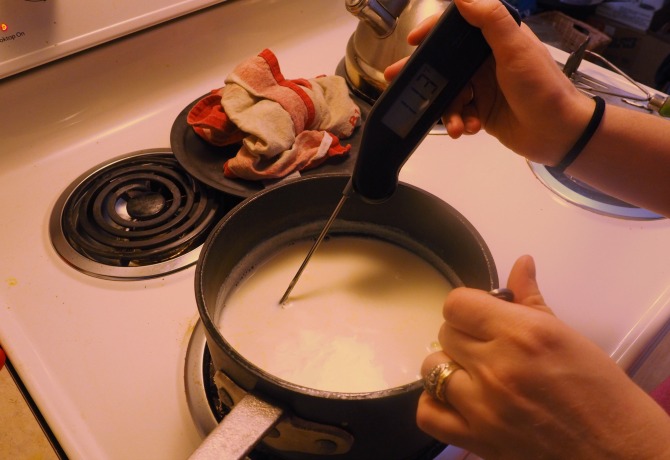
Add yogurt starter to milk and stir well. If your yogurt didn’t quite get to room temp, check the temperature to make sure it didn’t drop too low. If it did, feel free to heat it a bit more – just don’t go over 113 and your bacteria will be fine.

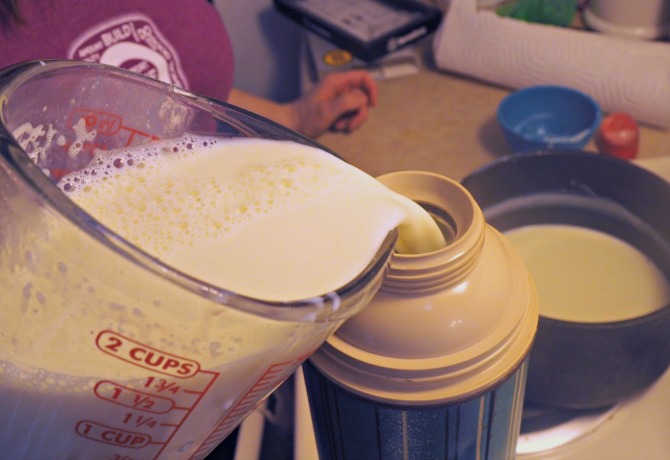
Transfer to your (almost!) yogurt to your thermos. I find this is easiest if I put it in a liquid measuring cup first.
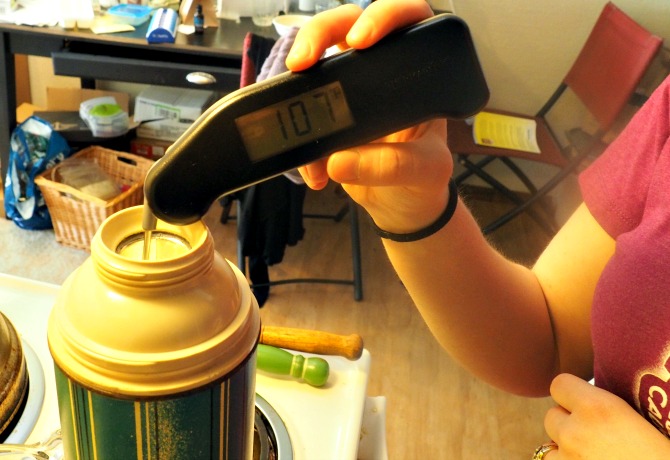
Check that temperature is still high enough.
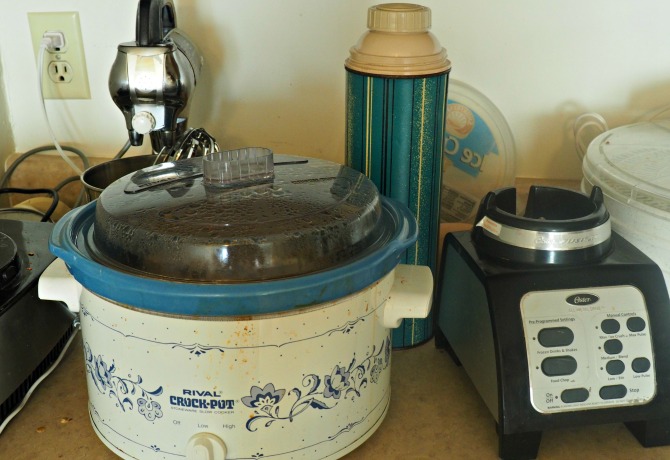
Cover and let sit for 24 hours. Put it in a warm spot if you can. I put my next to my Crock Pot that is not well insulated and constantly running to make me broth.
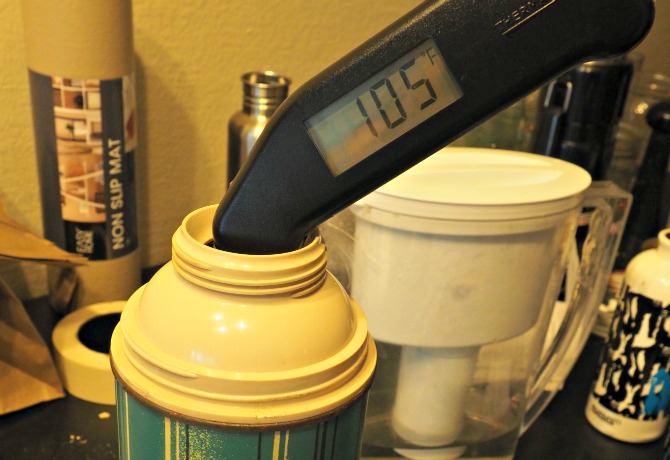
Boom. Yogurt. And it’s still within the culturing temp range. Transfer into jars, refrigerate, and enjoy!
[yumprint-recipe id=’4′]
How to Make Yogurt – other methods
- With raw milk
- With coconut milk
- In a dehydrator
- In a slow cooker
- In a cooler
- With a heating pad
- At room temperature
- Troubleshooting your yogurt making
Have you made your own yogurt before? Will you try now? Let me know in the comments!
Pin it:
 Shared on Allergy Free Wednesday, GAPS Intro Recipes and Wildcrafting Wednesday.
Like what you see? Please support this blog and help me keep it running by signing up for my newsletter, purchasing products, or donating through the links below:
DISCLOSURE: In order for me to support my blogging activities, I may receive monetary compensation or other types of remuneration for my endorsement, recommendation, testimonial and/or link to any products or services from this blog. The information contained in this post is not intended nor implied to be a substitute for professional medical advice, it is provided for educational purposes only. You assume full responsibility for how you choose to use this information. For more information, click here.


Are you from the twin cities? I recognize Cedar Summit! 😉
Yes! Unfortunately it isn’t sold around us anymore.
I know, although I thought I heard they might be getting it going again sometime soon.
P.S.- I’m from there too in case you couldn’t tell!
I figured. 🙂 That would be nice if they did! Thankfully we have a lot of other really good options at the co-op by us.
Umm…OMG I NEVER thought to put it in a thermos! Hello!!! Sheesh. I put mine under the light in my oven to culture it but I am totally trying this – I”m hoping it isn’t too cold here – maybe I will try it this spring when it starts warming up around here!
I live in Minnesota – it’s pretty cold here! That’s why I still try to find a warm spot in the kitchen.
I love recipes like this, so practical. You don’t always need special equipment.
Exactly! I don’t have the money or space for a whole arsenal of small appliances. I have to make due with what I have.
Very cool and it looks delicious! Thanks for sharing this technique! 🙂
So awesome! I have never made my own yogurt but would love to.
Great tutorial Chloe! I love all the pictures and descriptions. It makes it look quite easy. I make yogurt generally in my dehydrator, but I will have to try this method sometime. Thank you for sharing!
What a neat idea to make yogurt! I seriously would have never thought about this.
I would never have thought to use a thermos! Great idea.
You are so lucky that you have that type of milk by you.
I know! We have to go to our co-op to get it, and they actually have multiple types of similar quality there. We may not have access to raw, but we are really lucky to have access to what we do.
This is something I have been wanting to try for sometime now. You make it look super simple! Thank you for sharing.
It really is! I was so intimidated to try, but it is incredibly easy.
What a great tutorial! I didn’t know it was so easy!
Great post. I love making my own yogurt at home – it’s soooo easy!
Congrats on being chosen as a featured post on this week’s Wildcrafting Wednesdays! I hope you’ll join us again and share more of your awesome posts.
http://www.herbanmomma.com
Thank you! That’s wonderful to hear!